In this video, I teardown and restore a Teleram Portabubble:
Introduction
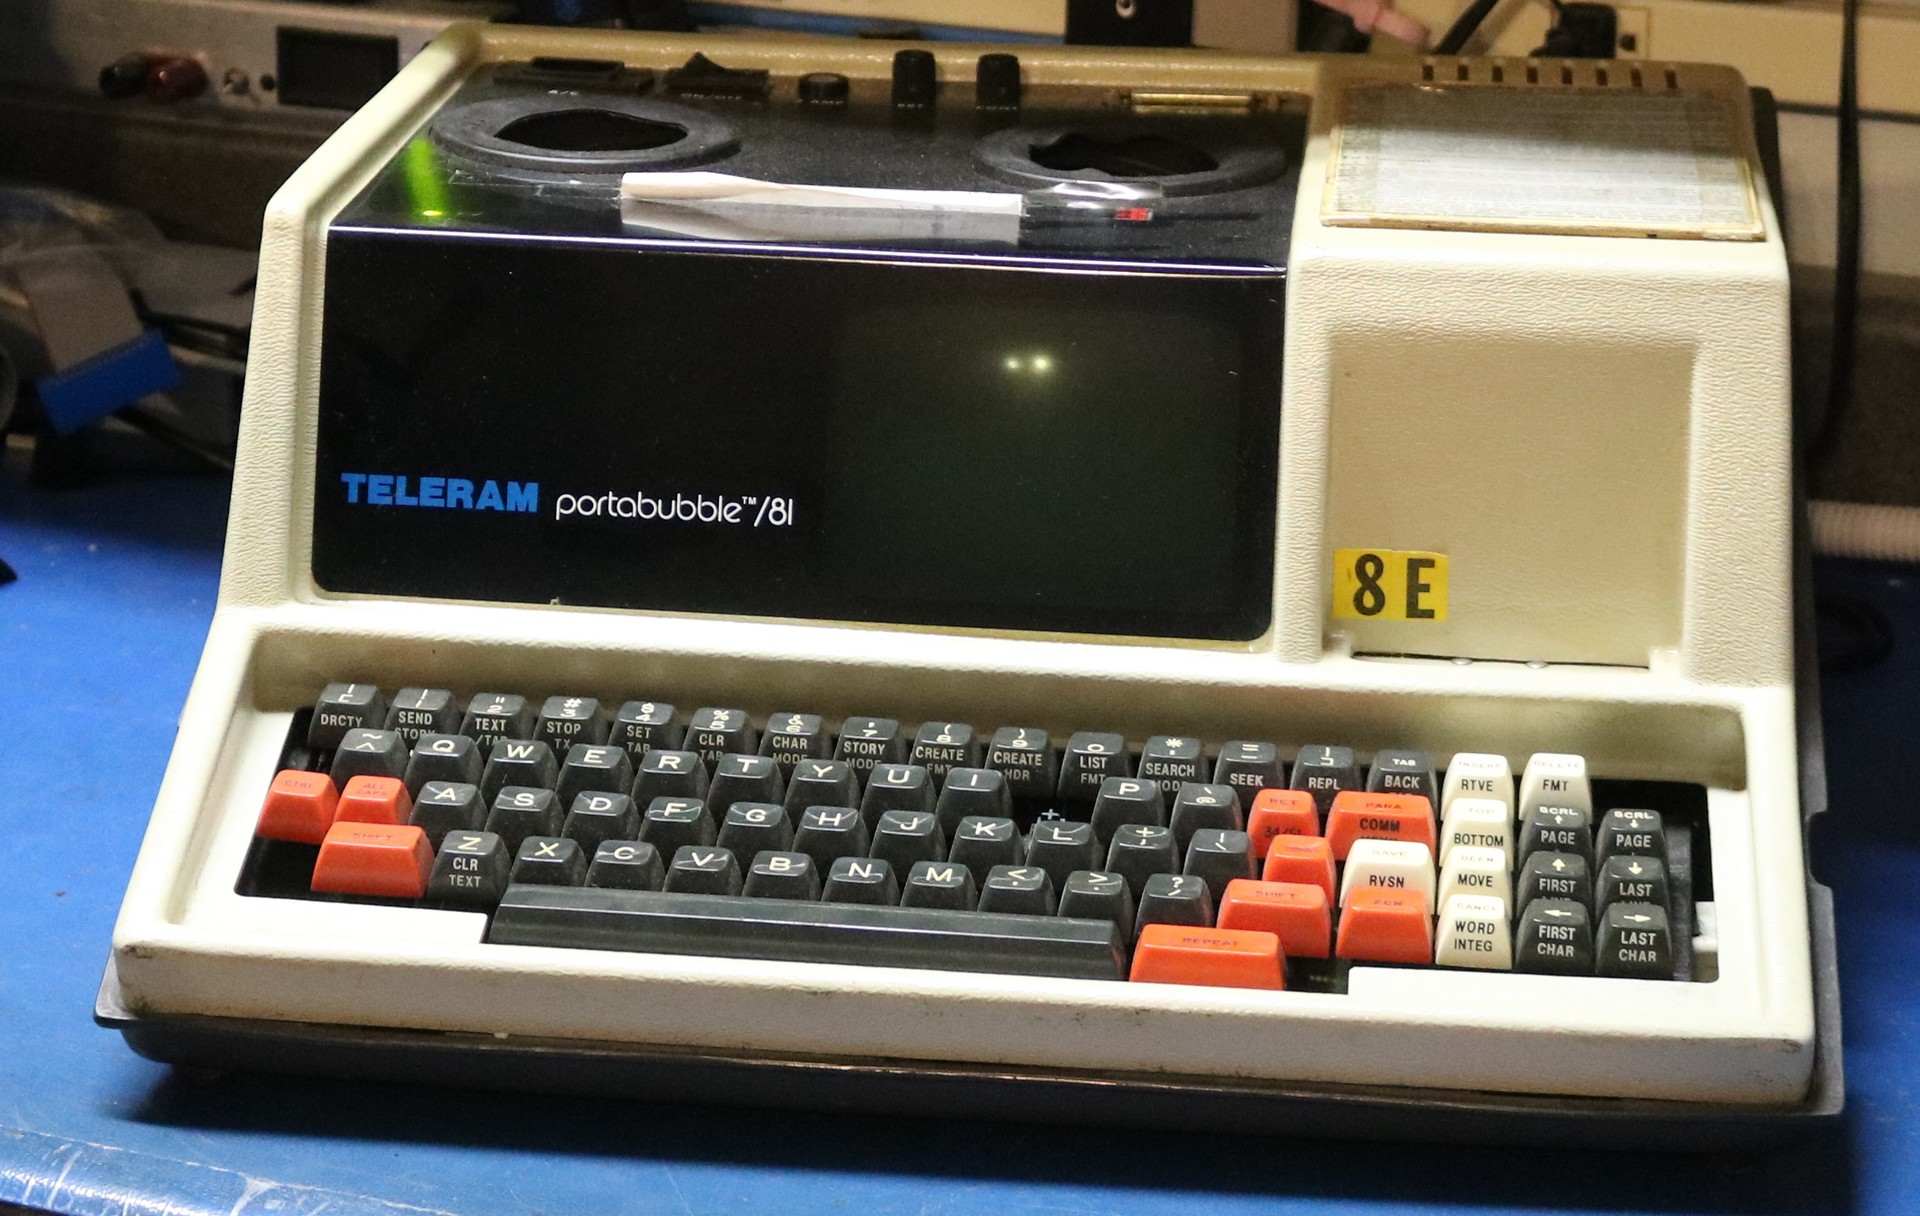
I spotted this computer on eBay and managed to get lucky enough to win it with no opposing bidders! Magnetic bubble memory has always been a fascination of mine, and one of the primary features of the Teleram Portabubble was that it used bubble memory for nonvolatile storage. It had no disk, no cassette, no other forms of persistent user data storage other than the bubble memory.
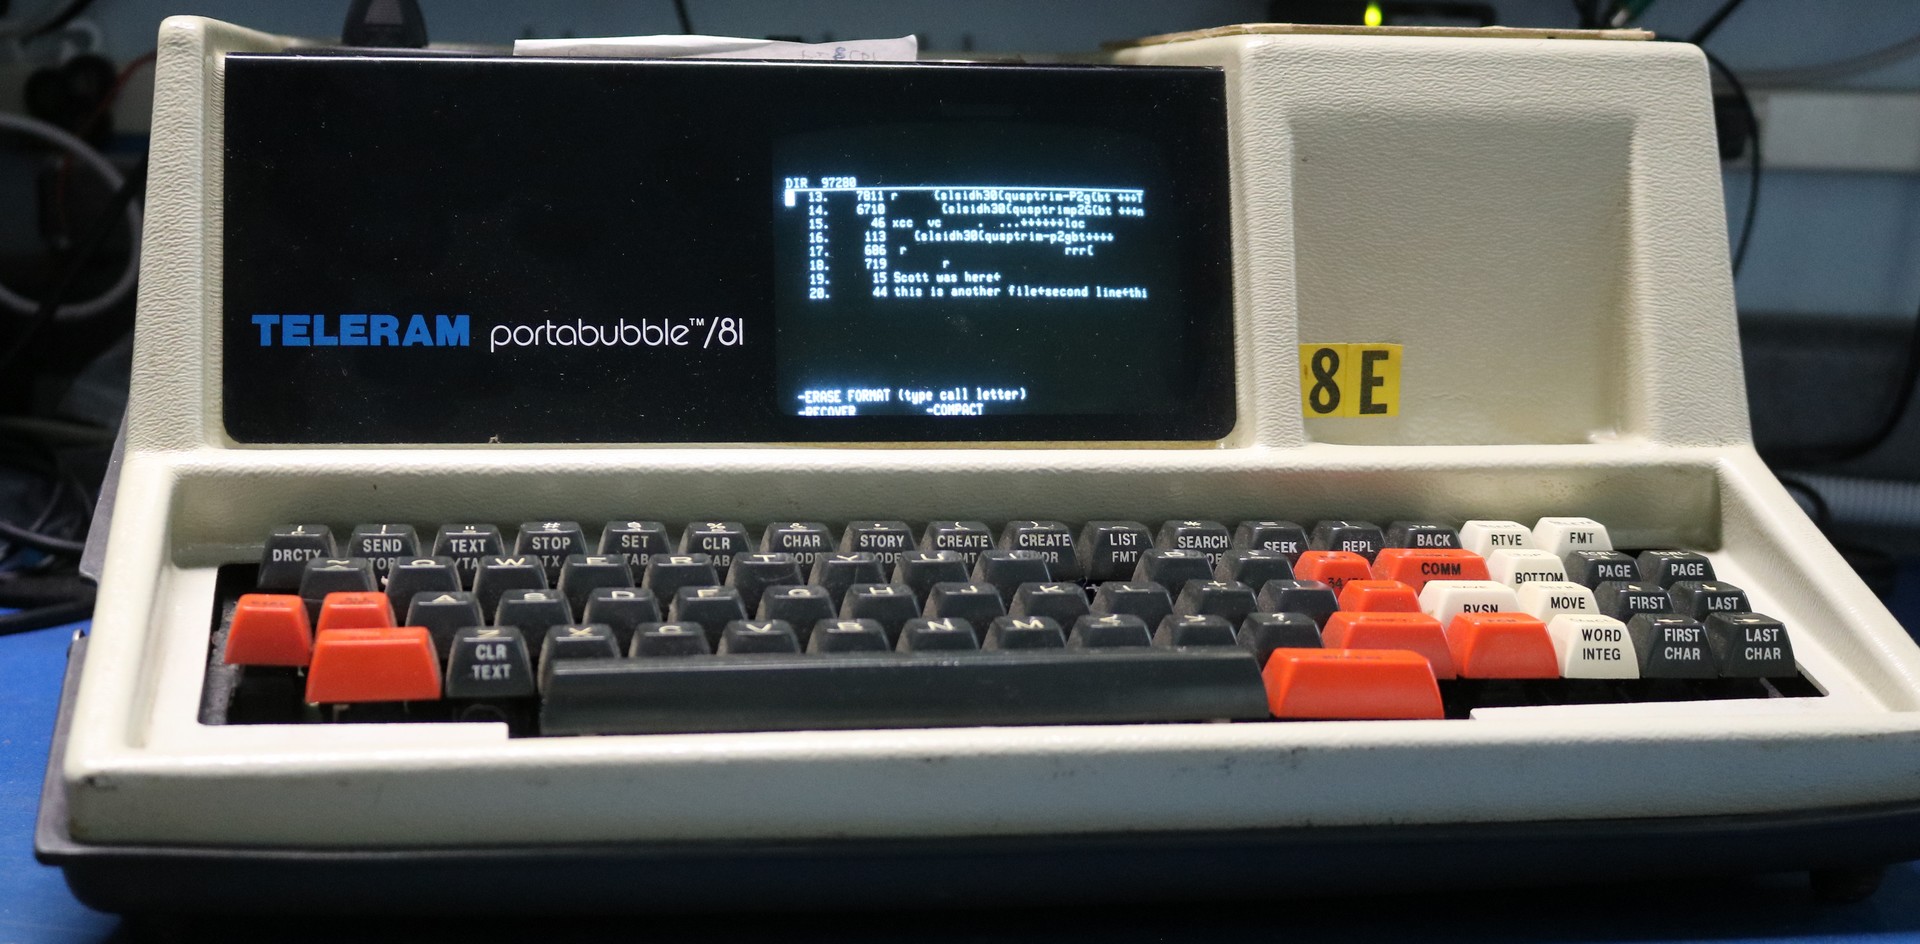
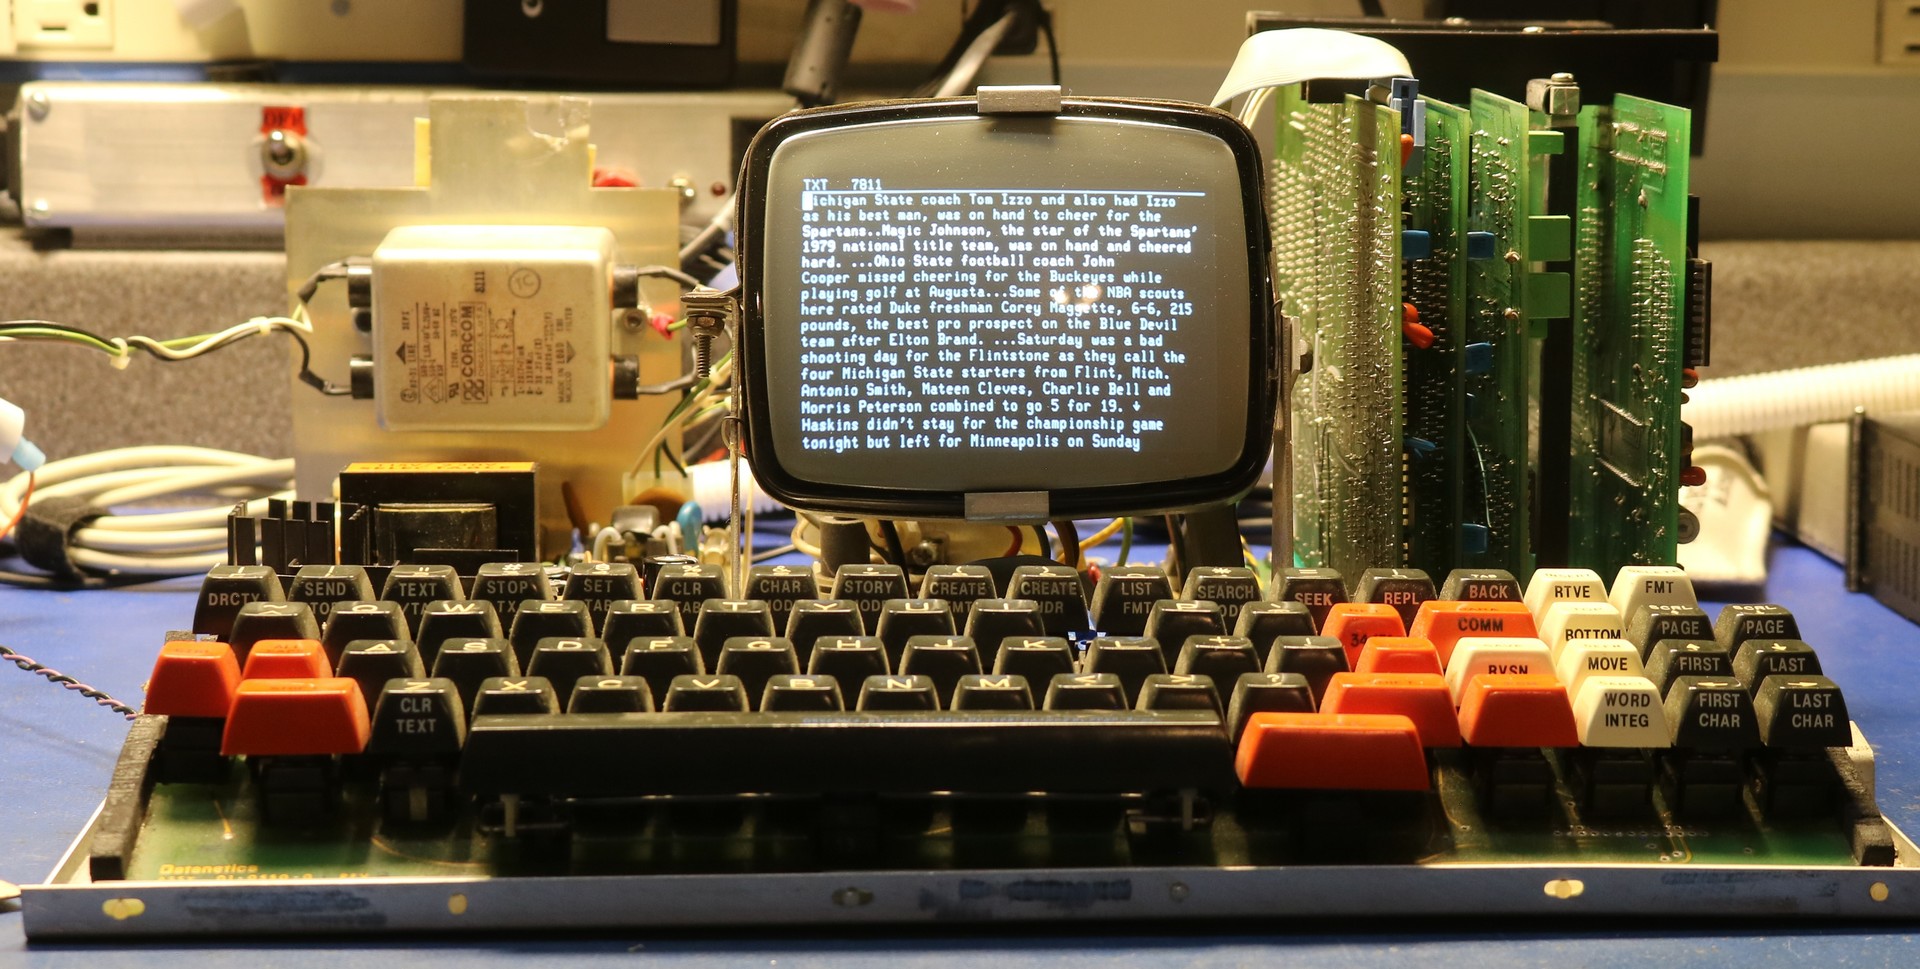
The portabubble did come with a built-in acoustic coupler. My understanding was that these were marketed at journalists and similar folks who might need to write a story remotely. They write up their story on the portabubble then send it in to their newspaper via the acoustic coupler. I’m told this portabubble was previously used by Sid Hartman, a sports reporter who worked in Minnesota reporting on NCAA games. There were a half-dozen sports stories still in the portabubble’s bubble memory when I got it repaired.
Repair
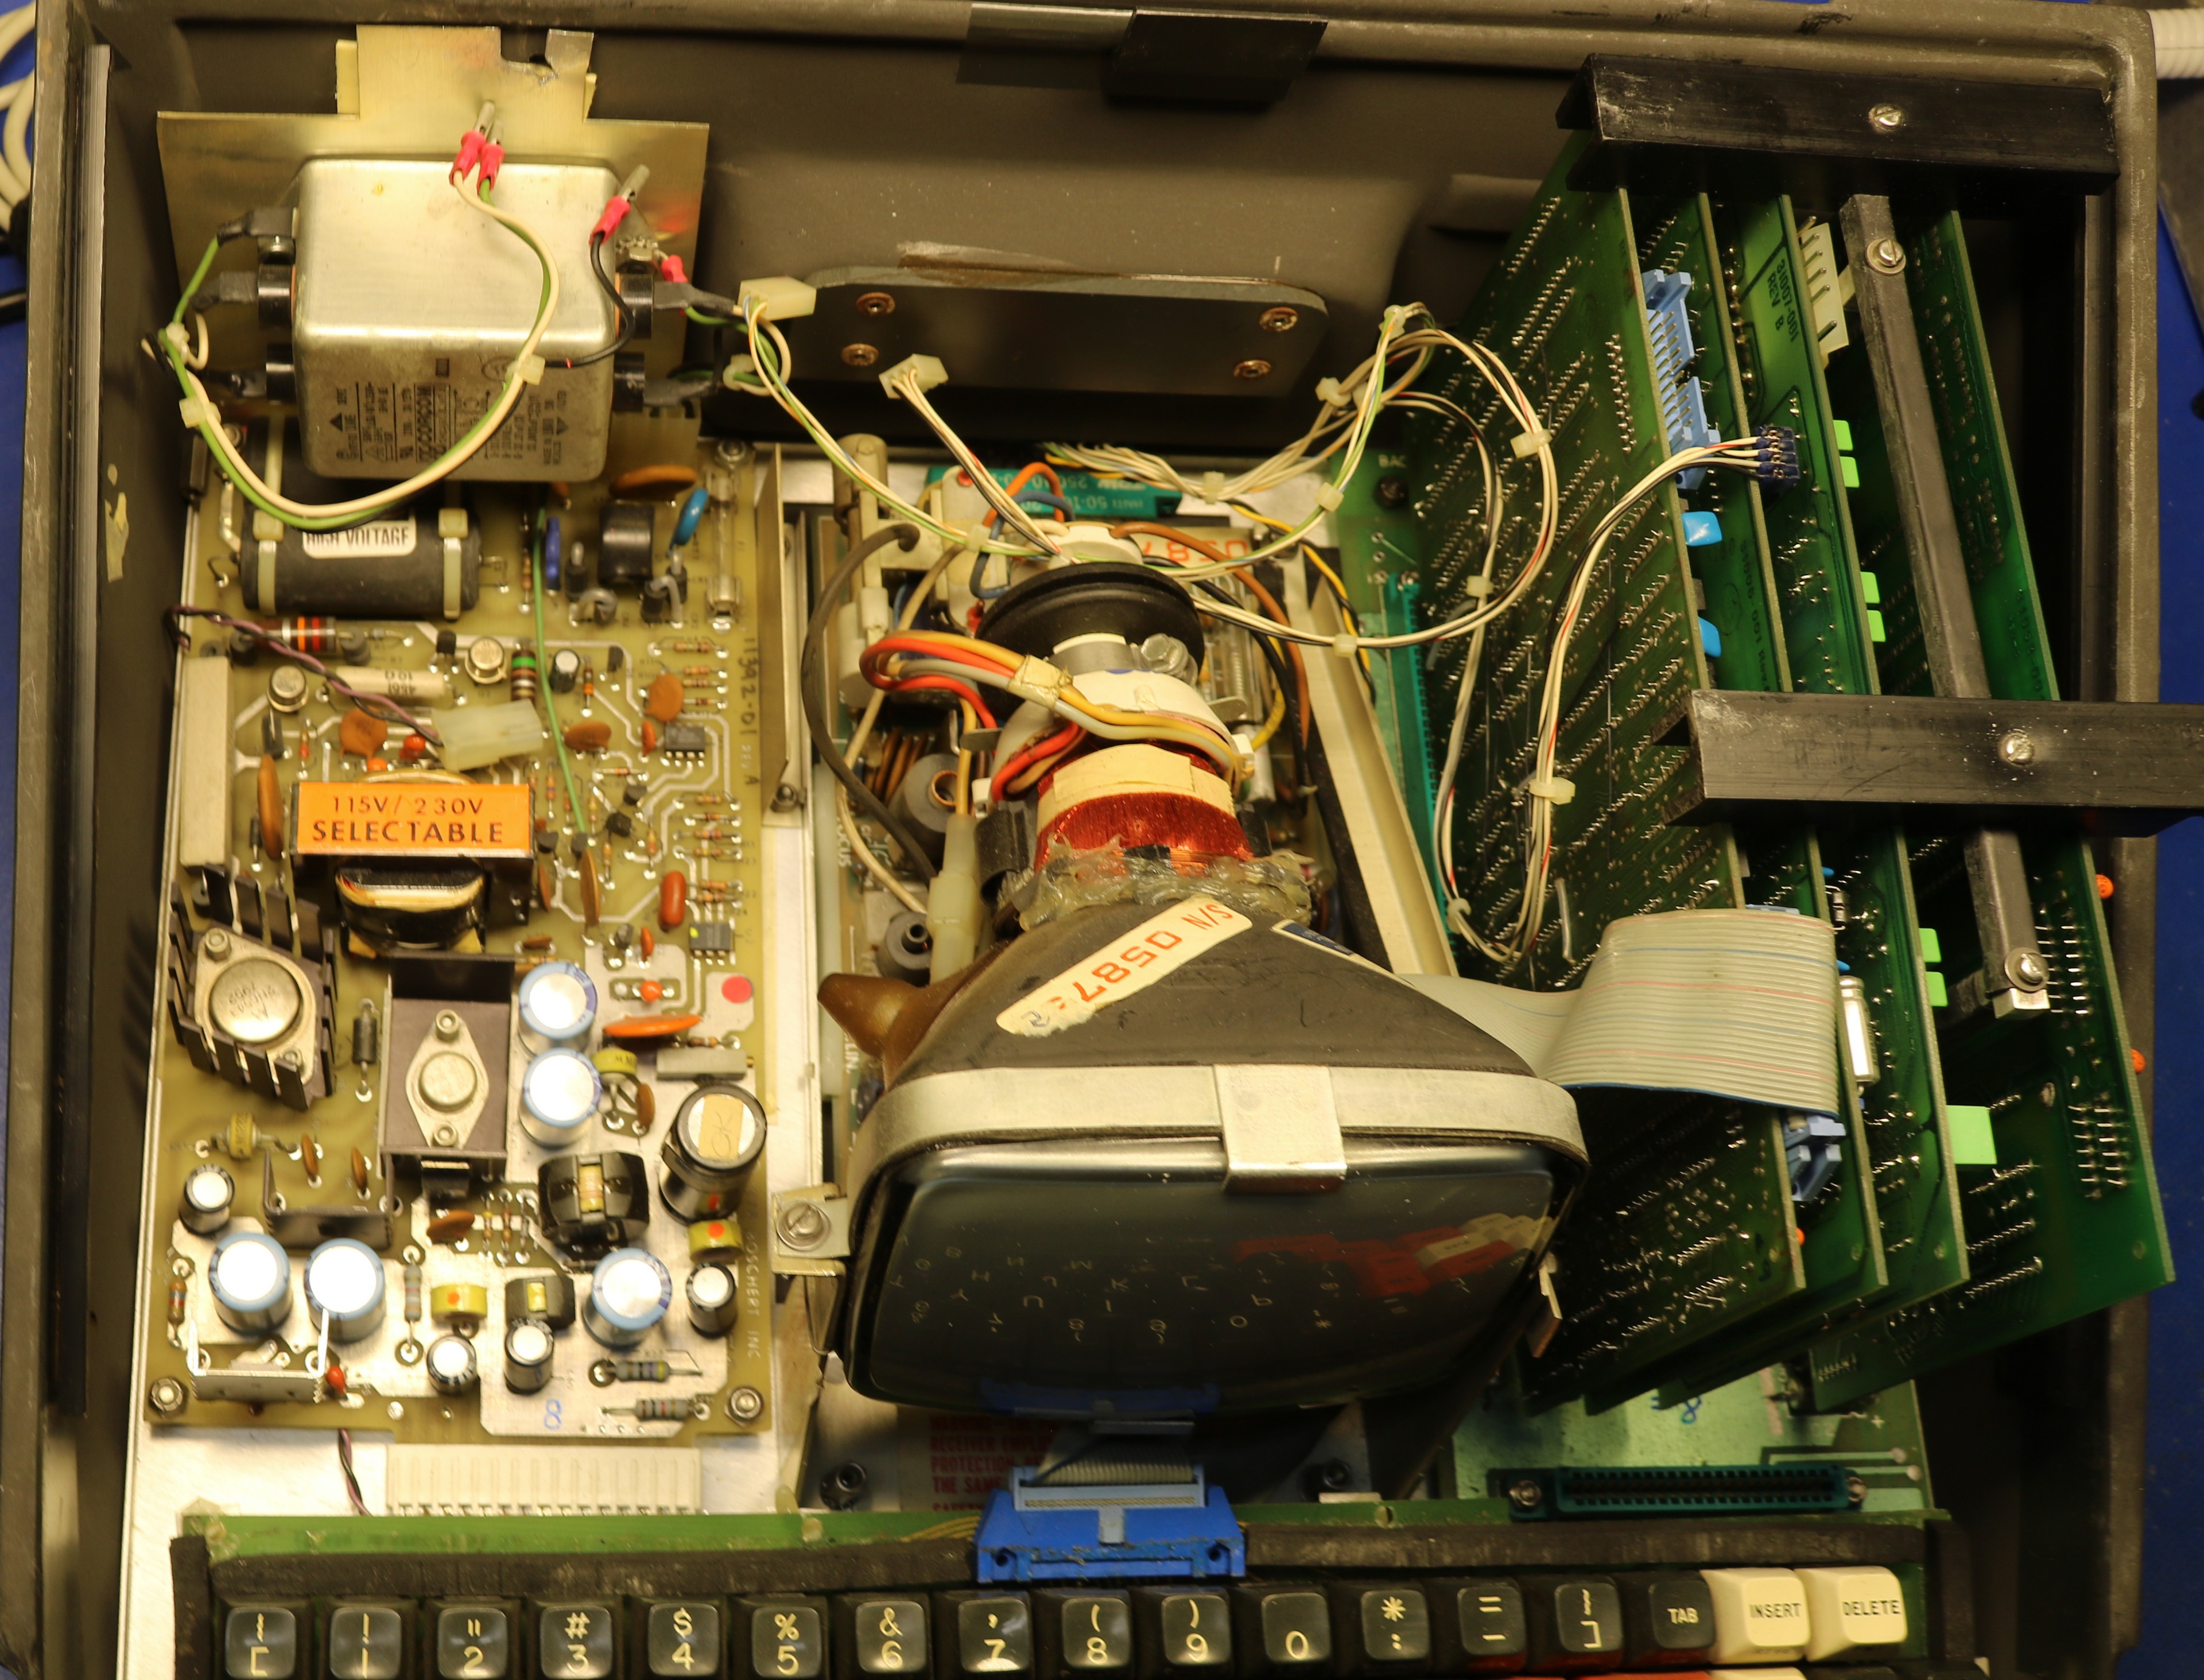
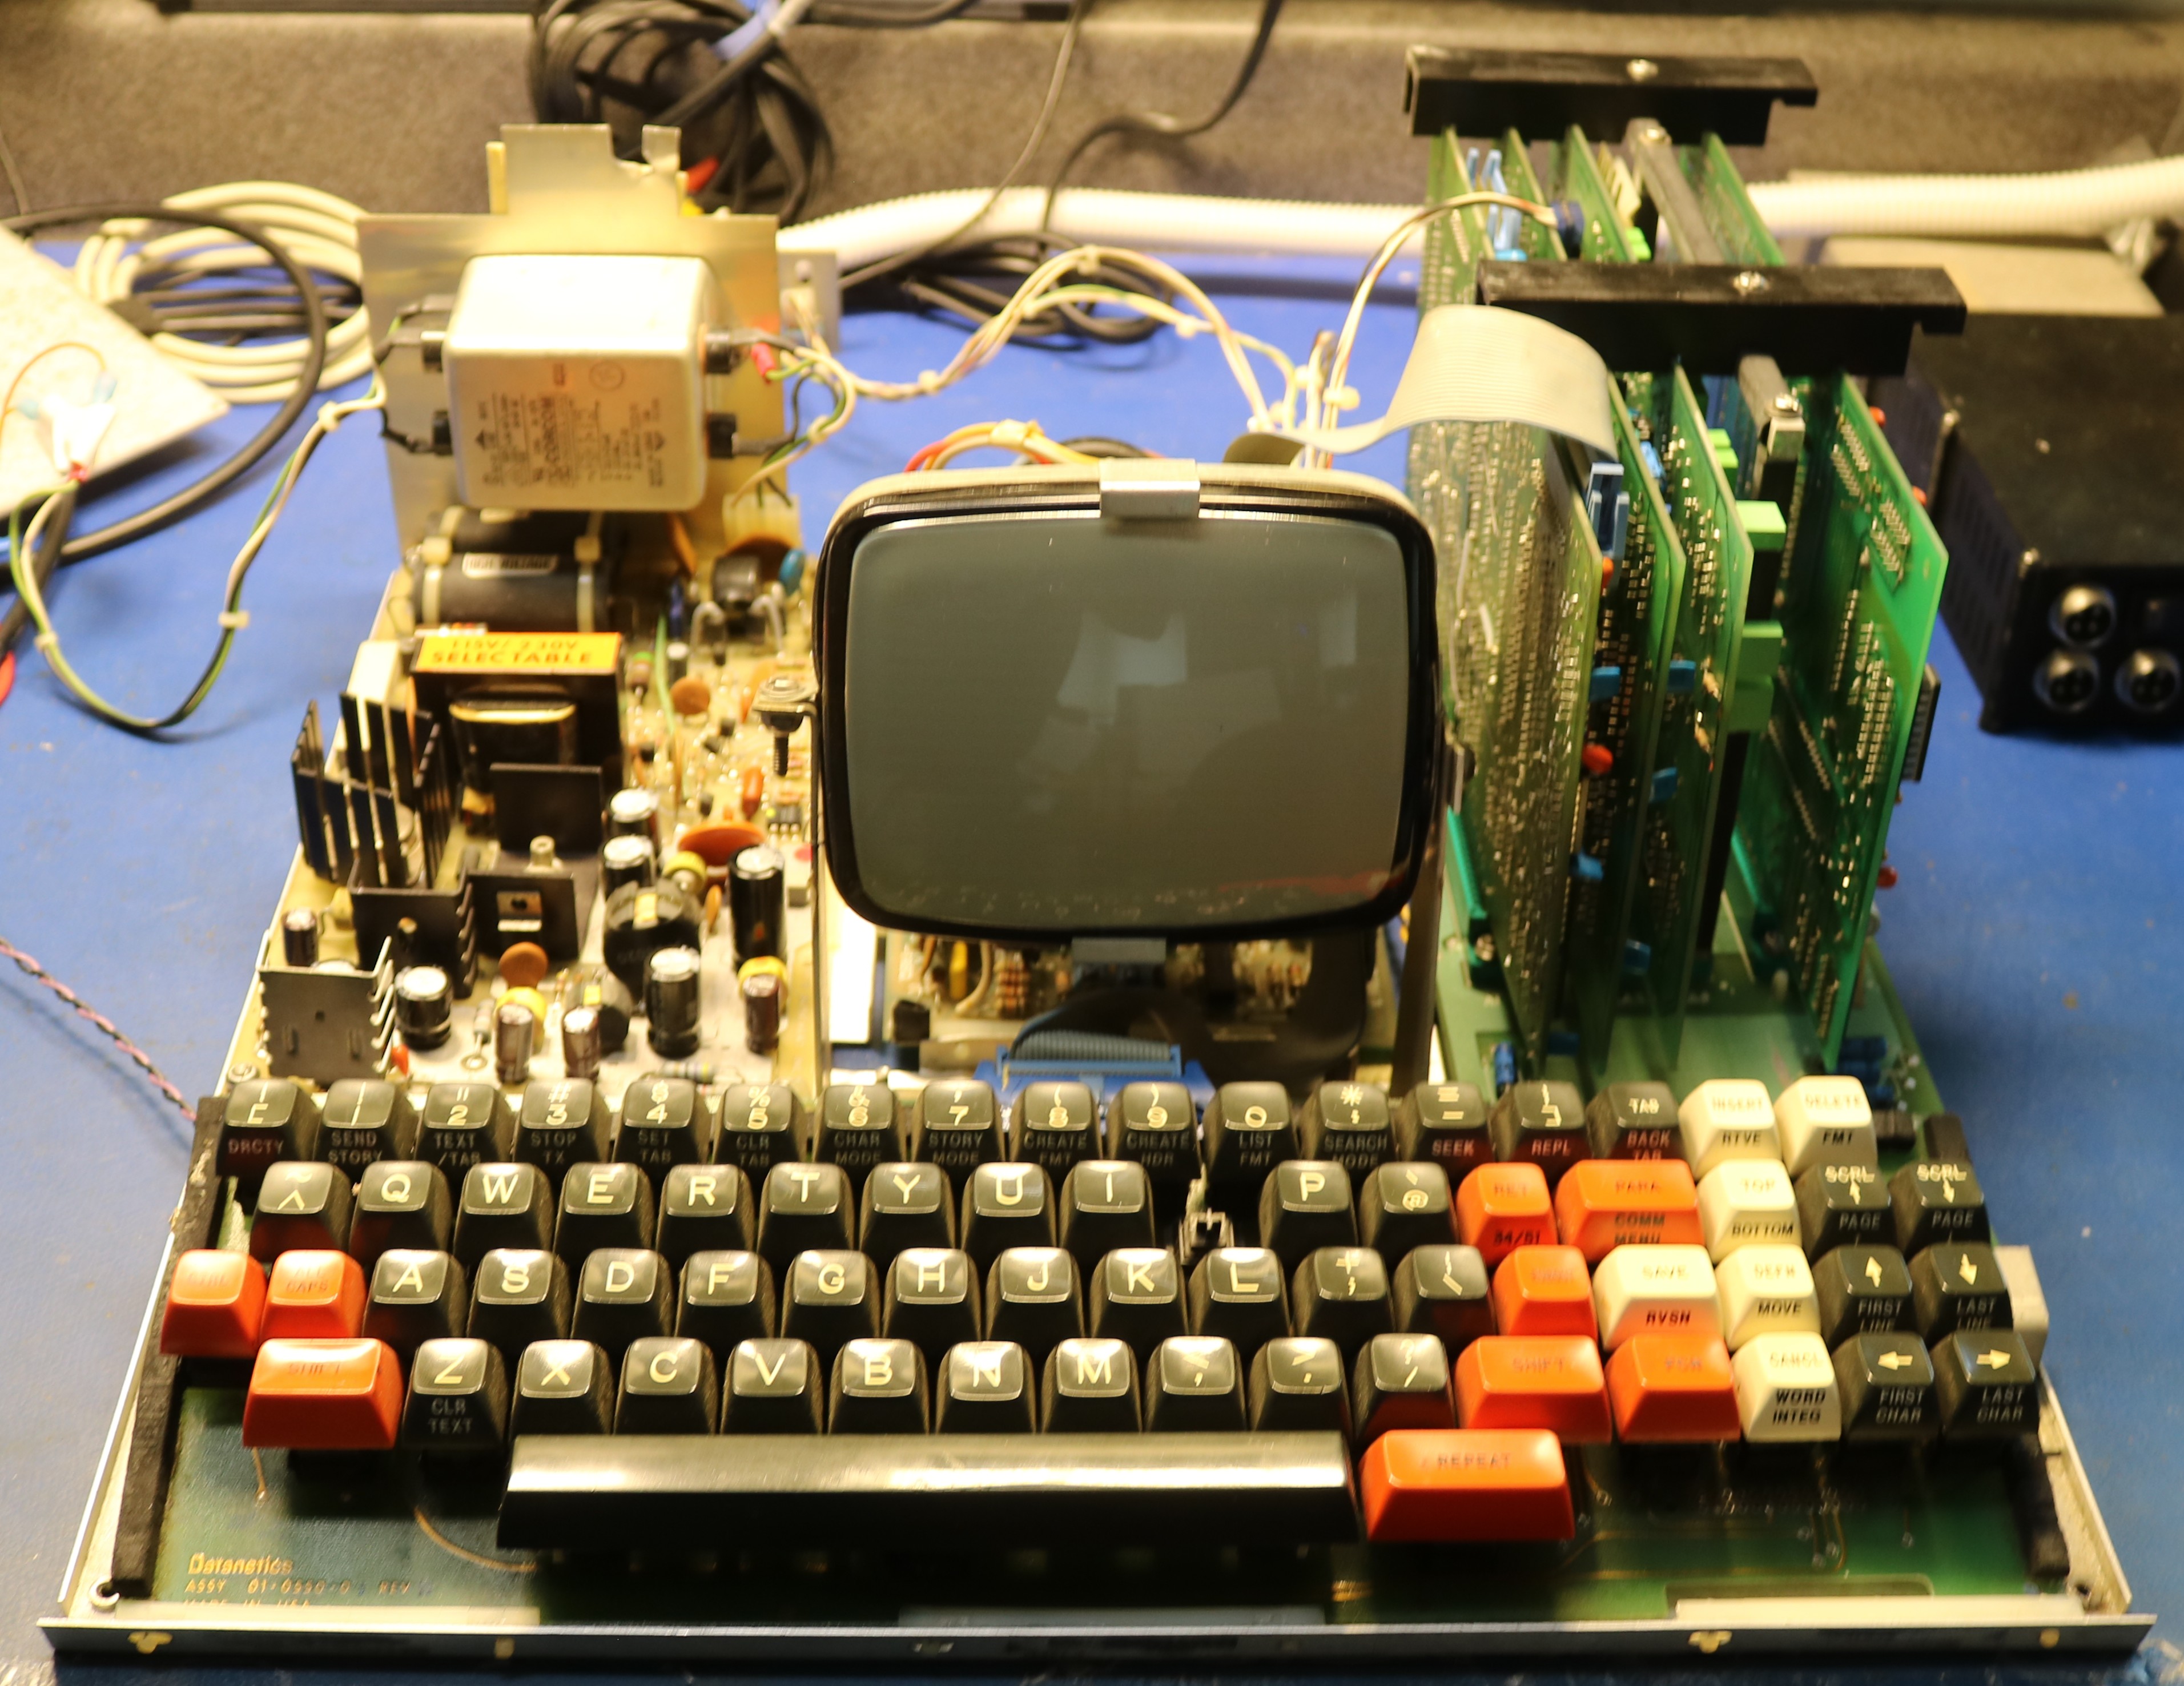
The listing on eBay said that the keyboard was nonfunctional. That turned out to be true, but so far as I could tell not due to any fault within the keyboard itself. The keyboard looked fine so I spent some time poking and prodding around at voltages and the +5V and +12V supplies to the card cage seemed a bit low. I pulled the power supply (this required quite the thorough disassembly!) and recapped it. I then adjusted the pot on the power supply to supply just over 5VDC. After reassembly of the computer, the keyboard worked fine.
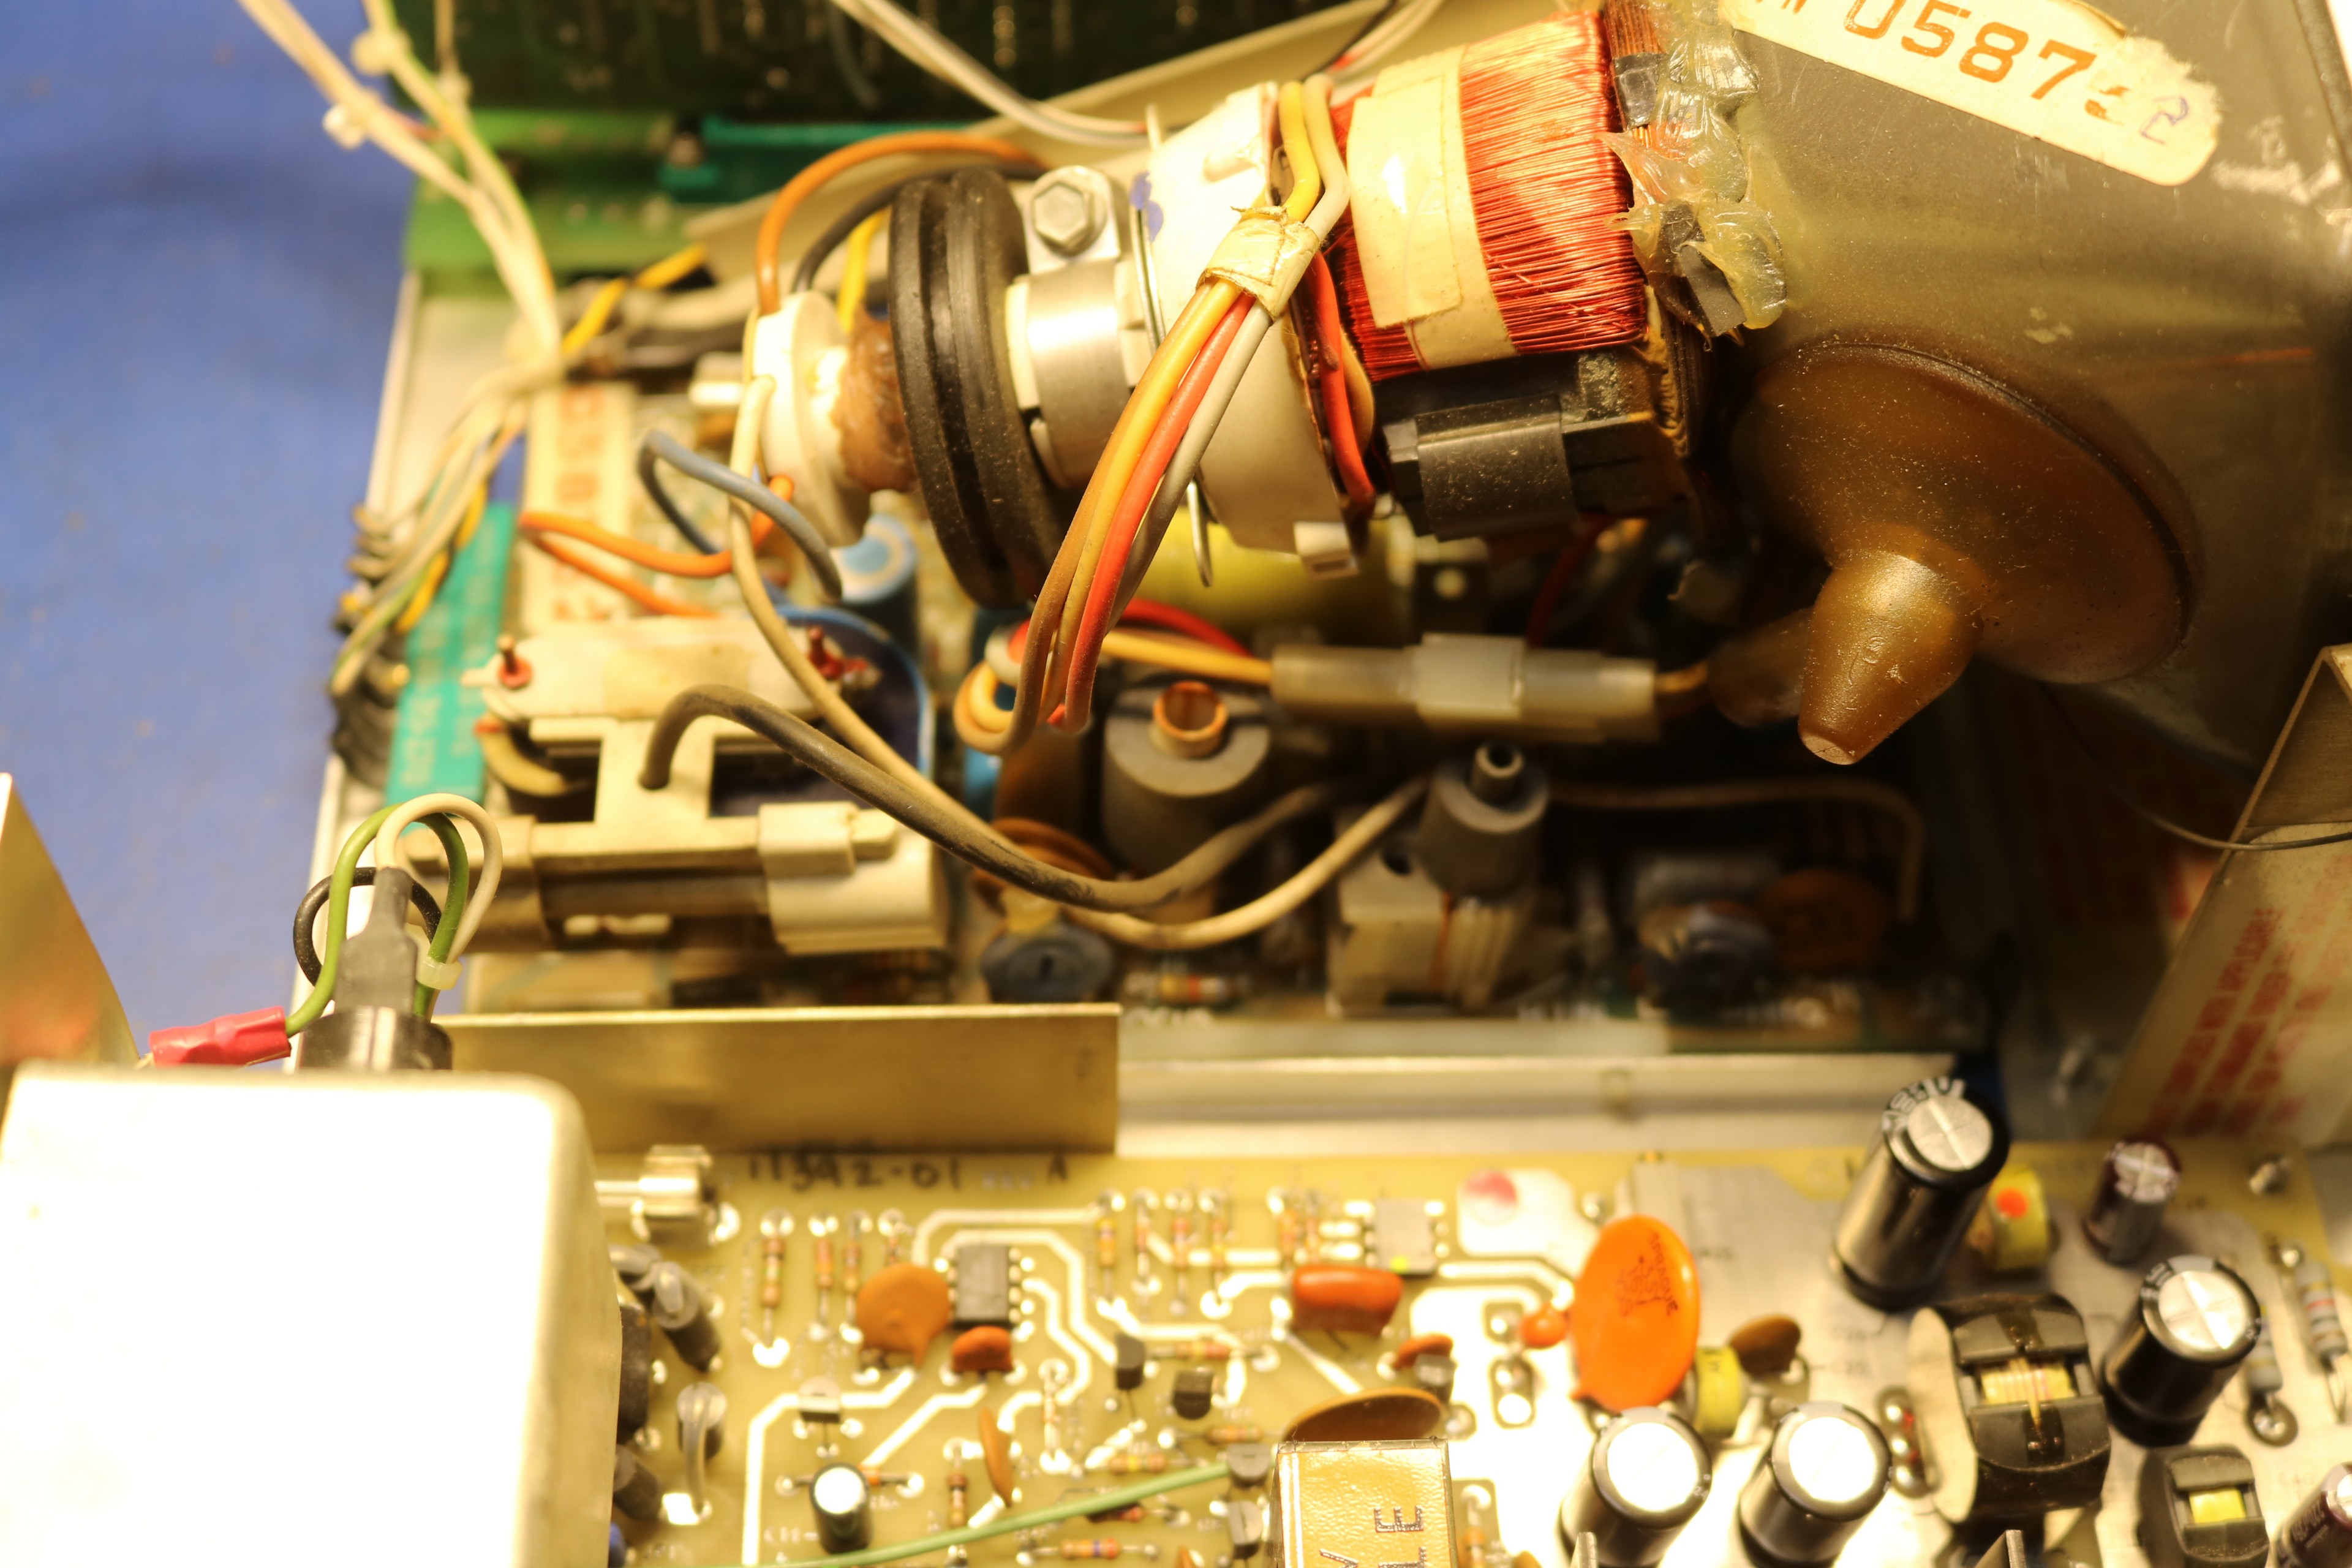
As I was getting ready to put the case together and shoot the final video, a new problem arose — the focus on the CRT started cycling in and out. I contacted some folks on the Vintage Computer Forum and they suggested a few things:
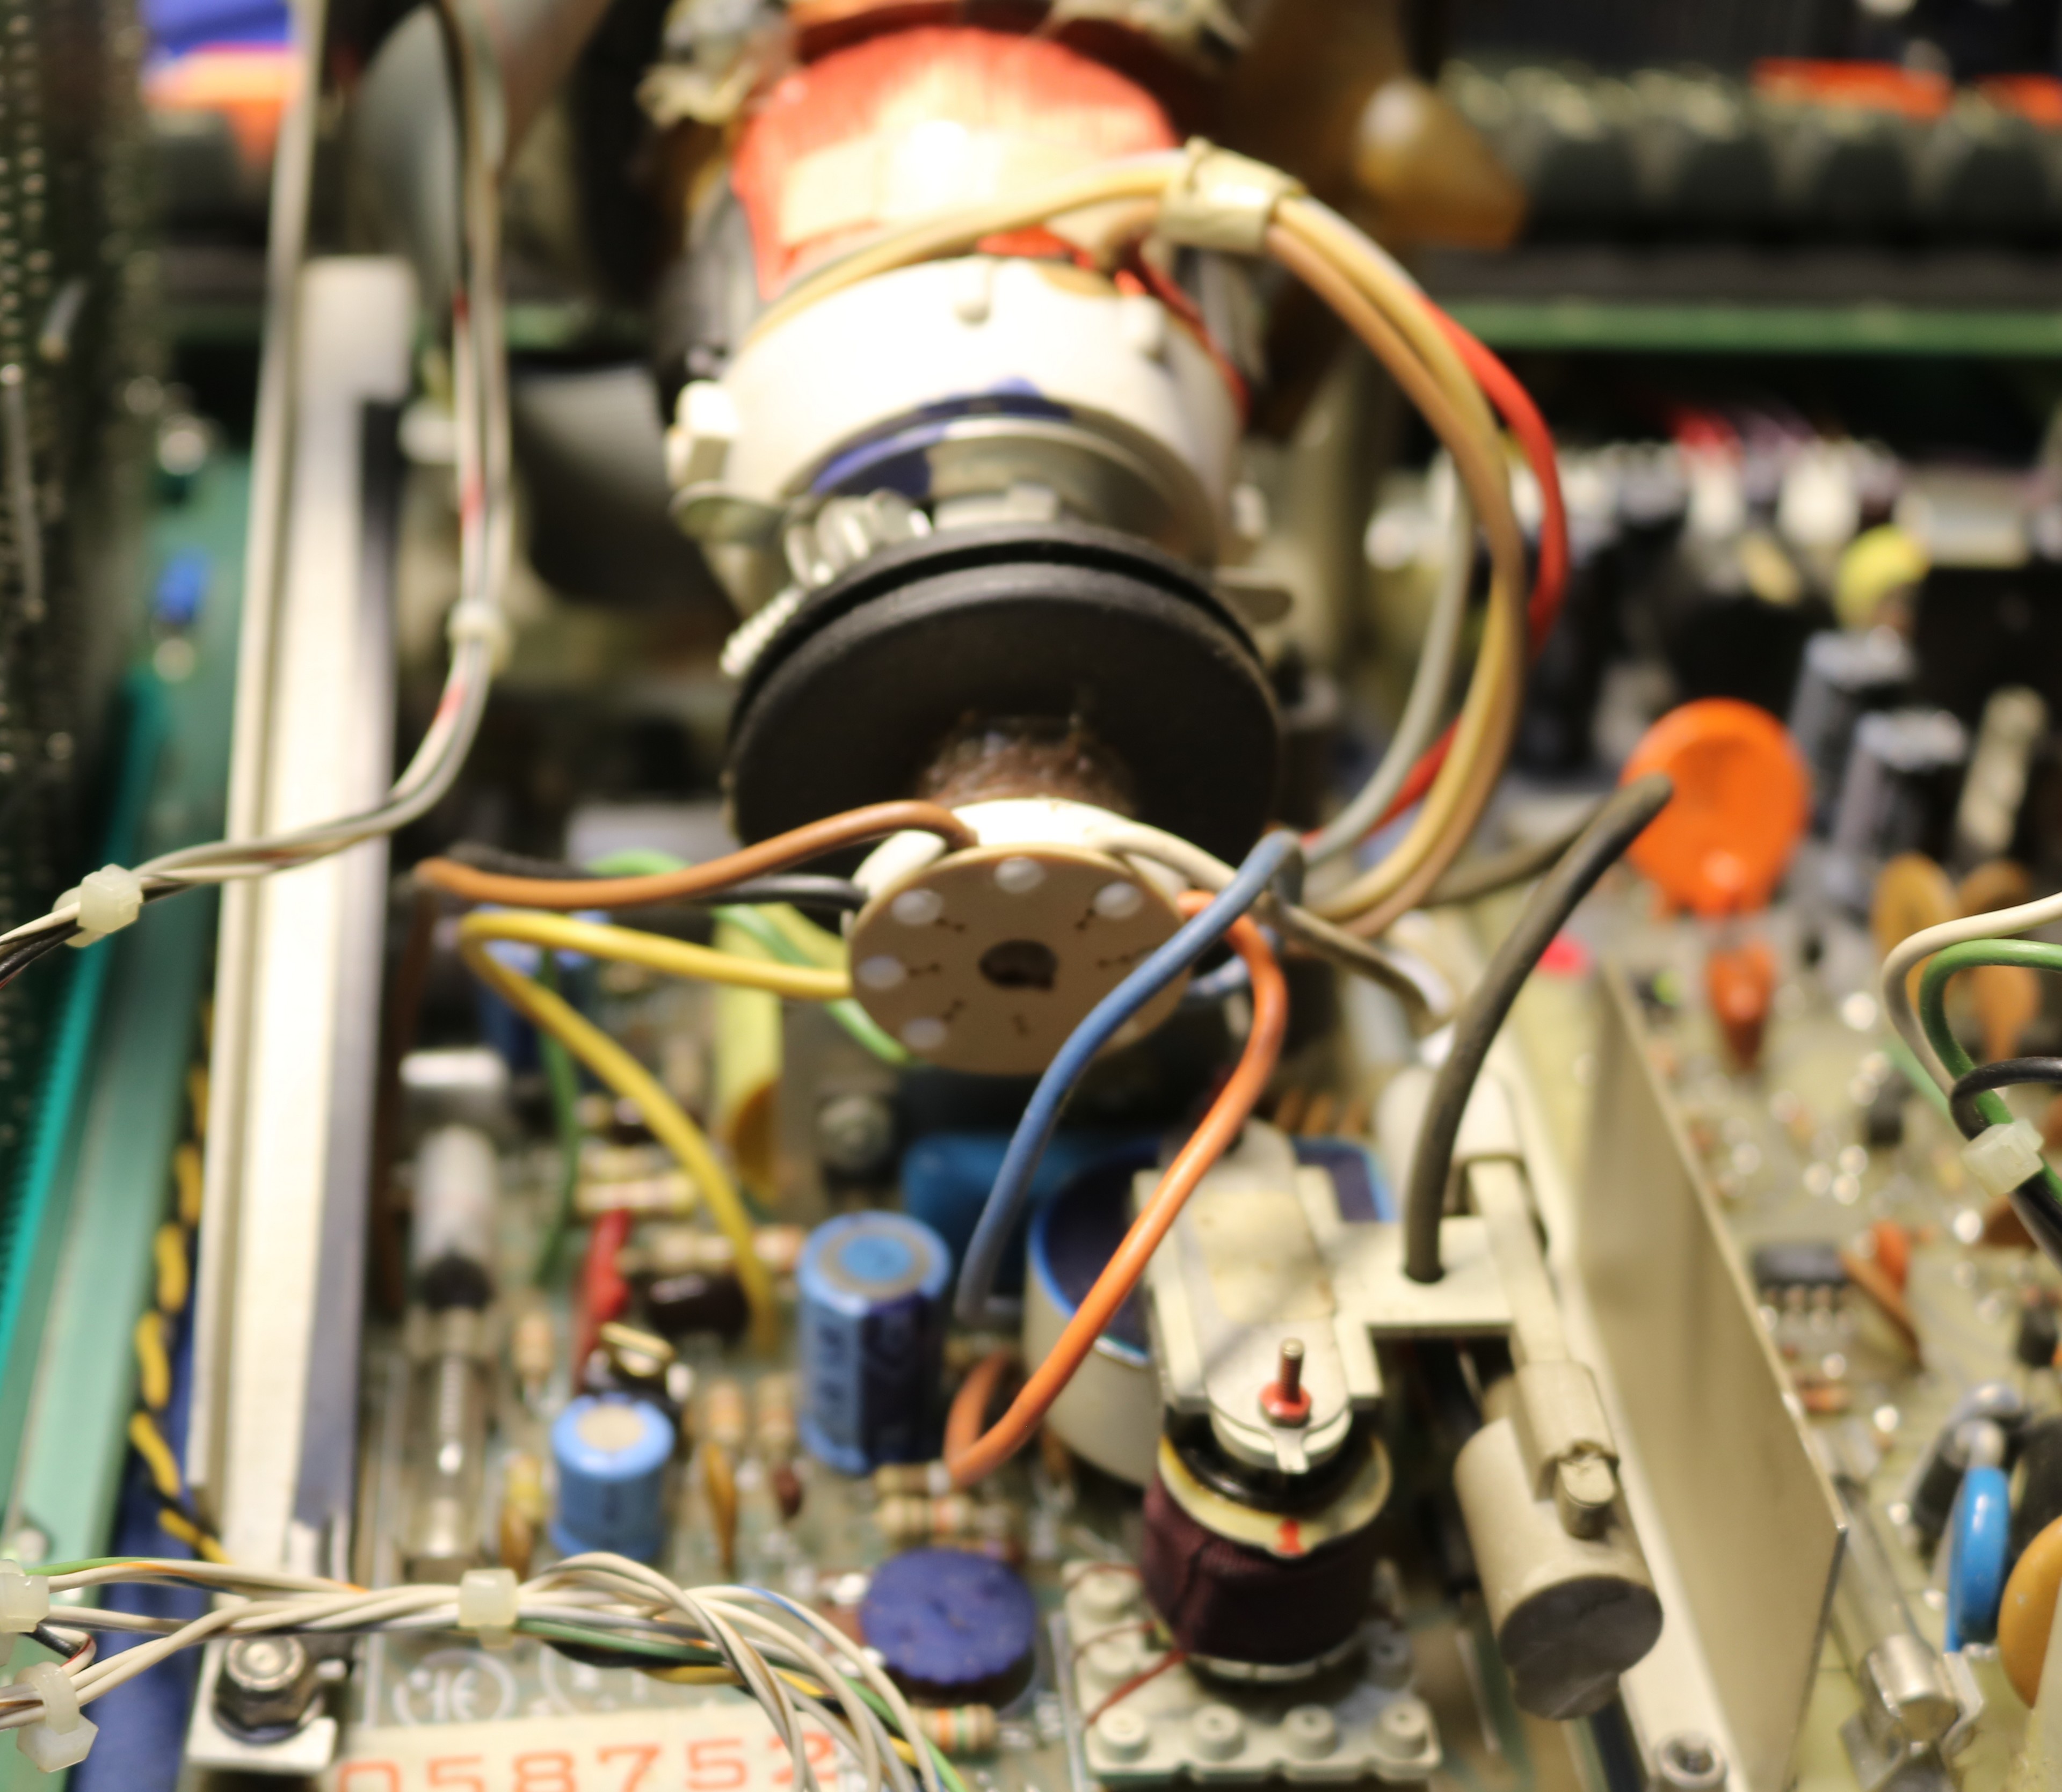
- Check the focus potentiometer. It should have several hundred volts on one end, ground on the other, and an intermediate voltage on the wiper. I found ground on the wiper. Disassembling the potentiometer, it was obvious there was a small crack in the surface.
- Check the wiring from the pcboard to the picture tube. Here I ran into a rare second fault — the blue focus wire had deteched from the pcboard. It looked like it was hanging by a single strand when it finally let go. Maybe my poking and prodding around the pot while replacing it was the final straw on the focus wire.
Anyhow, this goes to show that sometimes when working on something four and a half decades old, thing will literally fail while you’re using it. Gotta be careful, and gotta prepare for some unexpected repair sometimes.
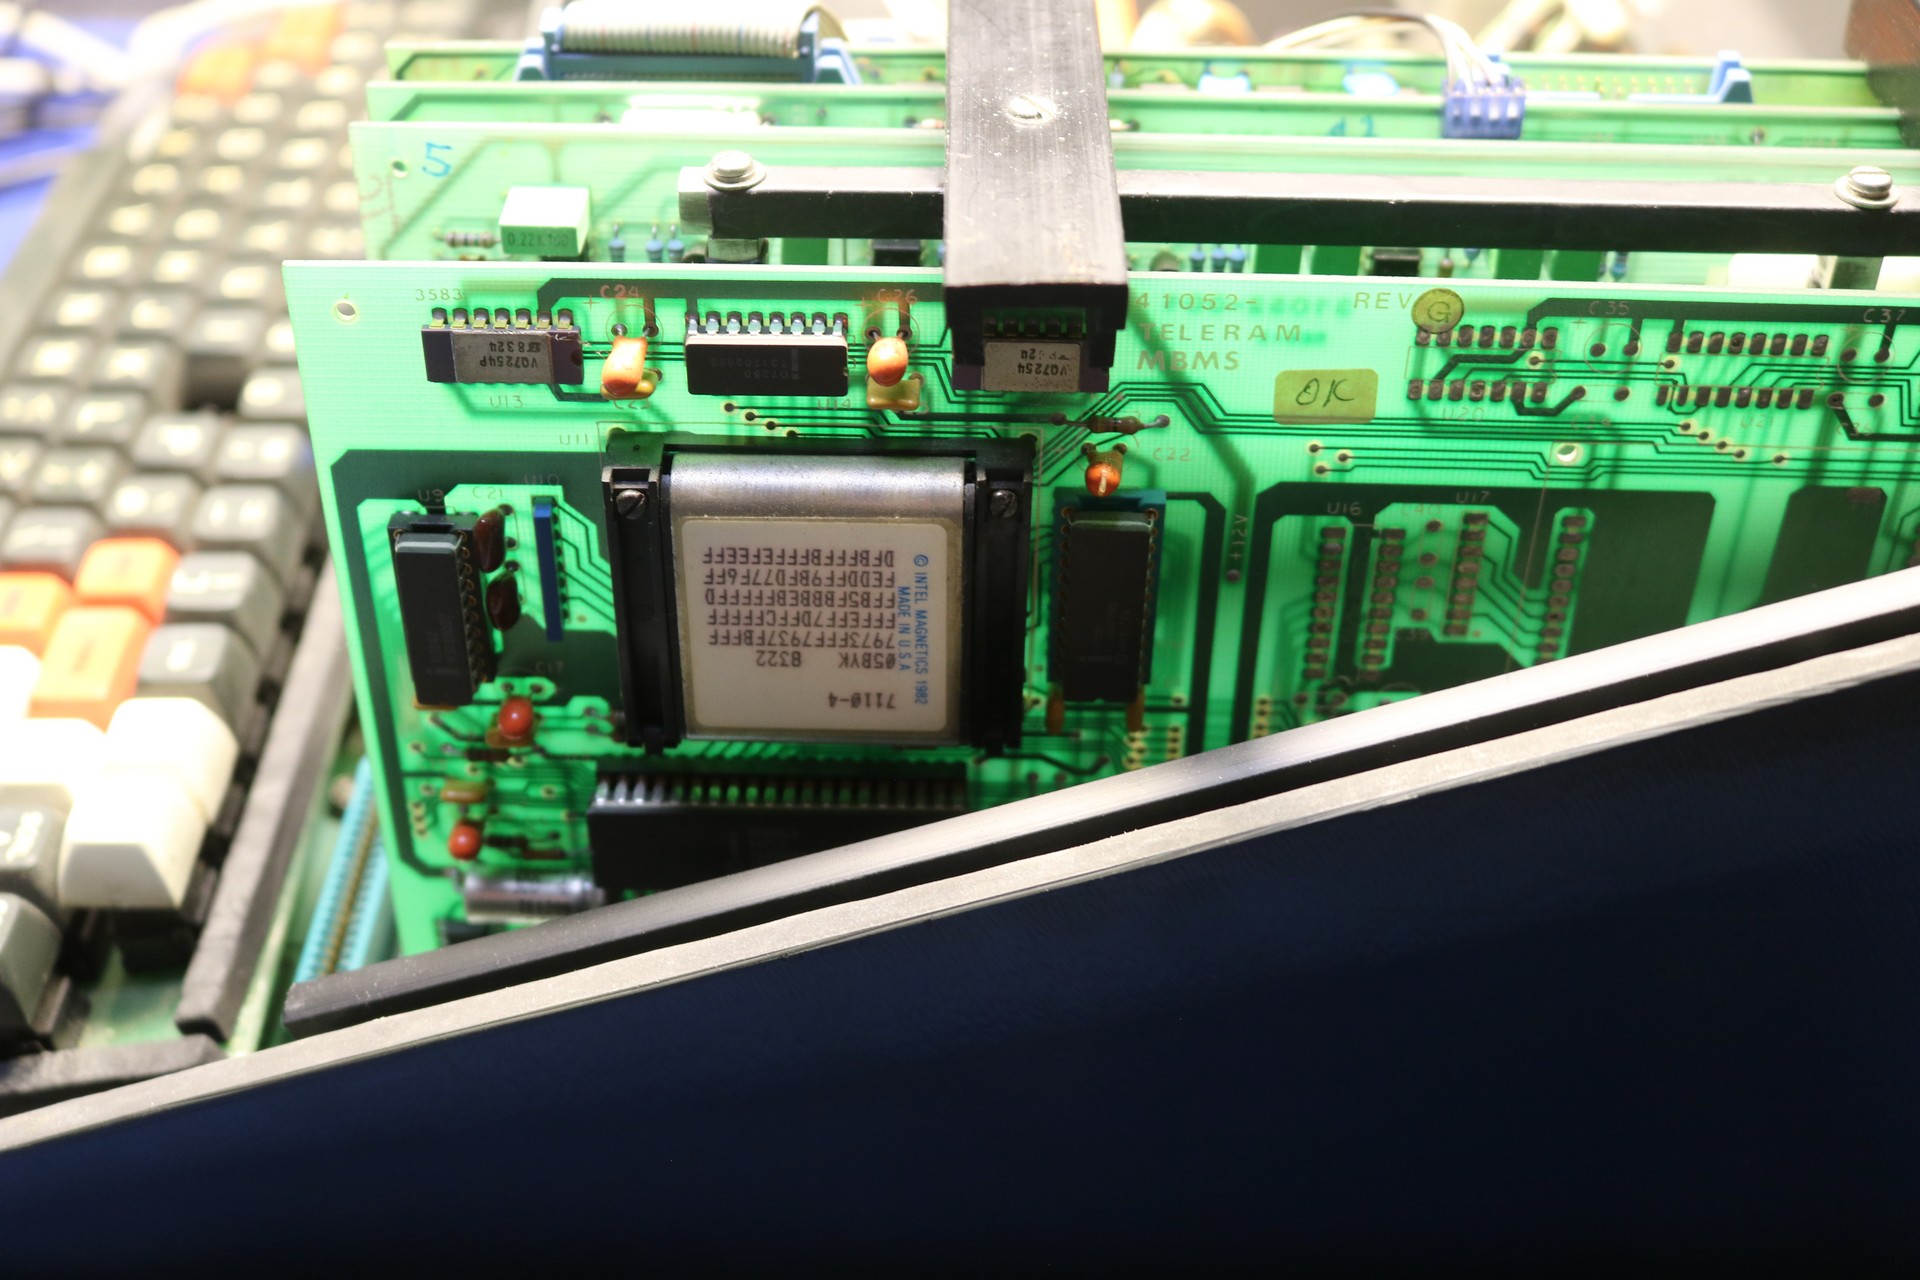
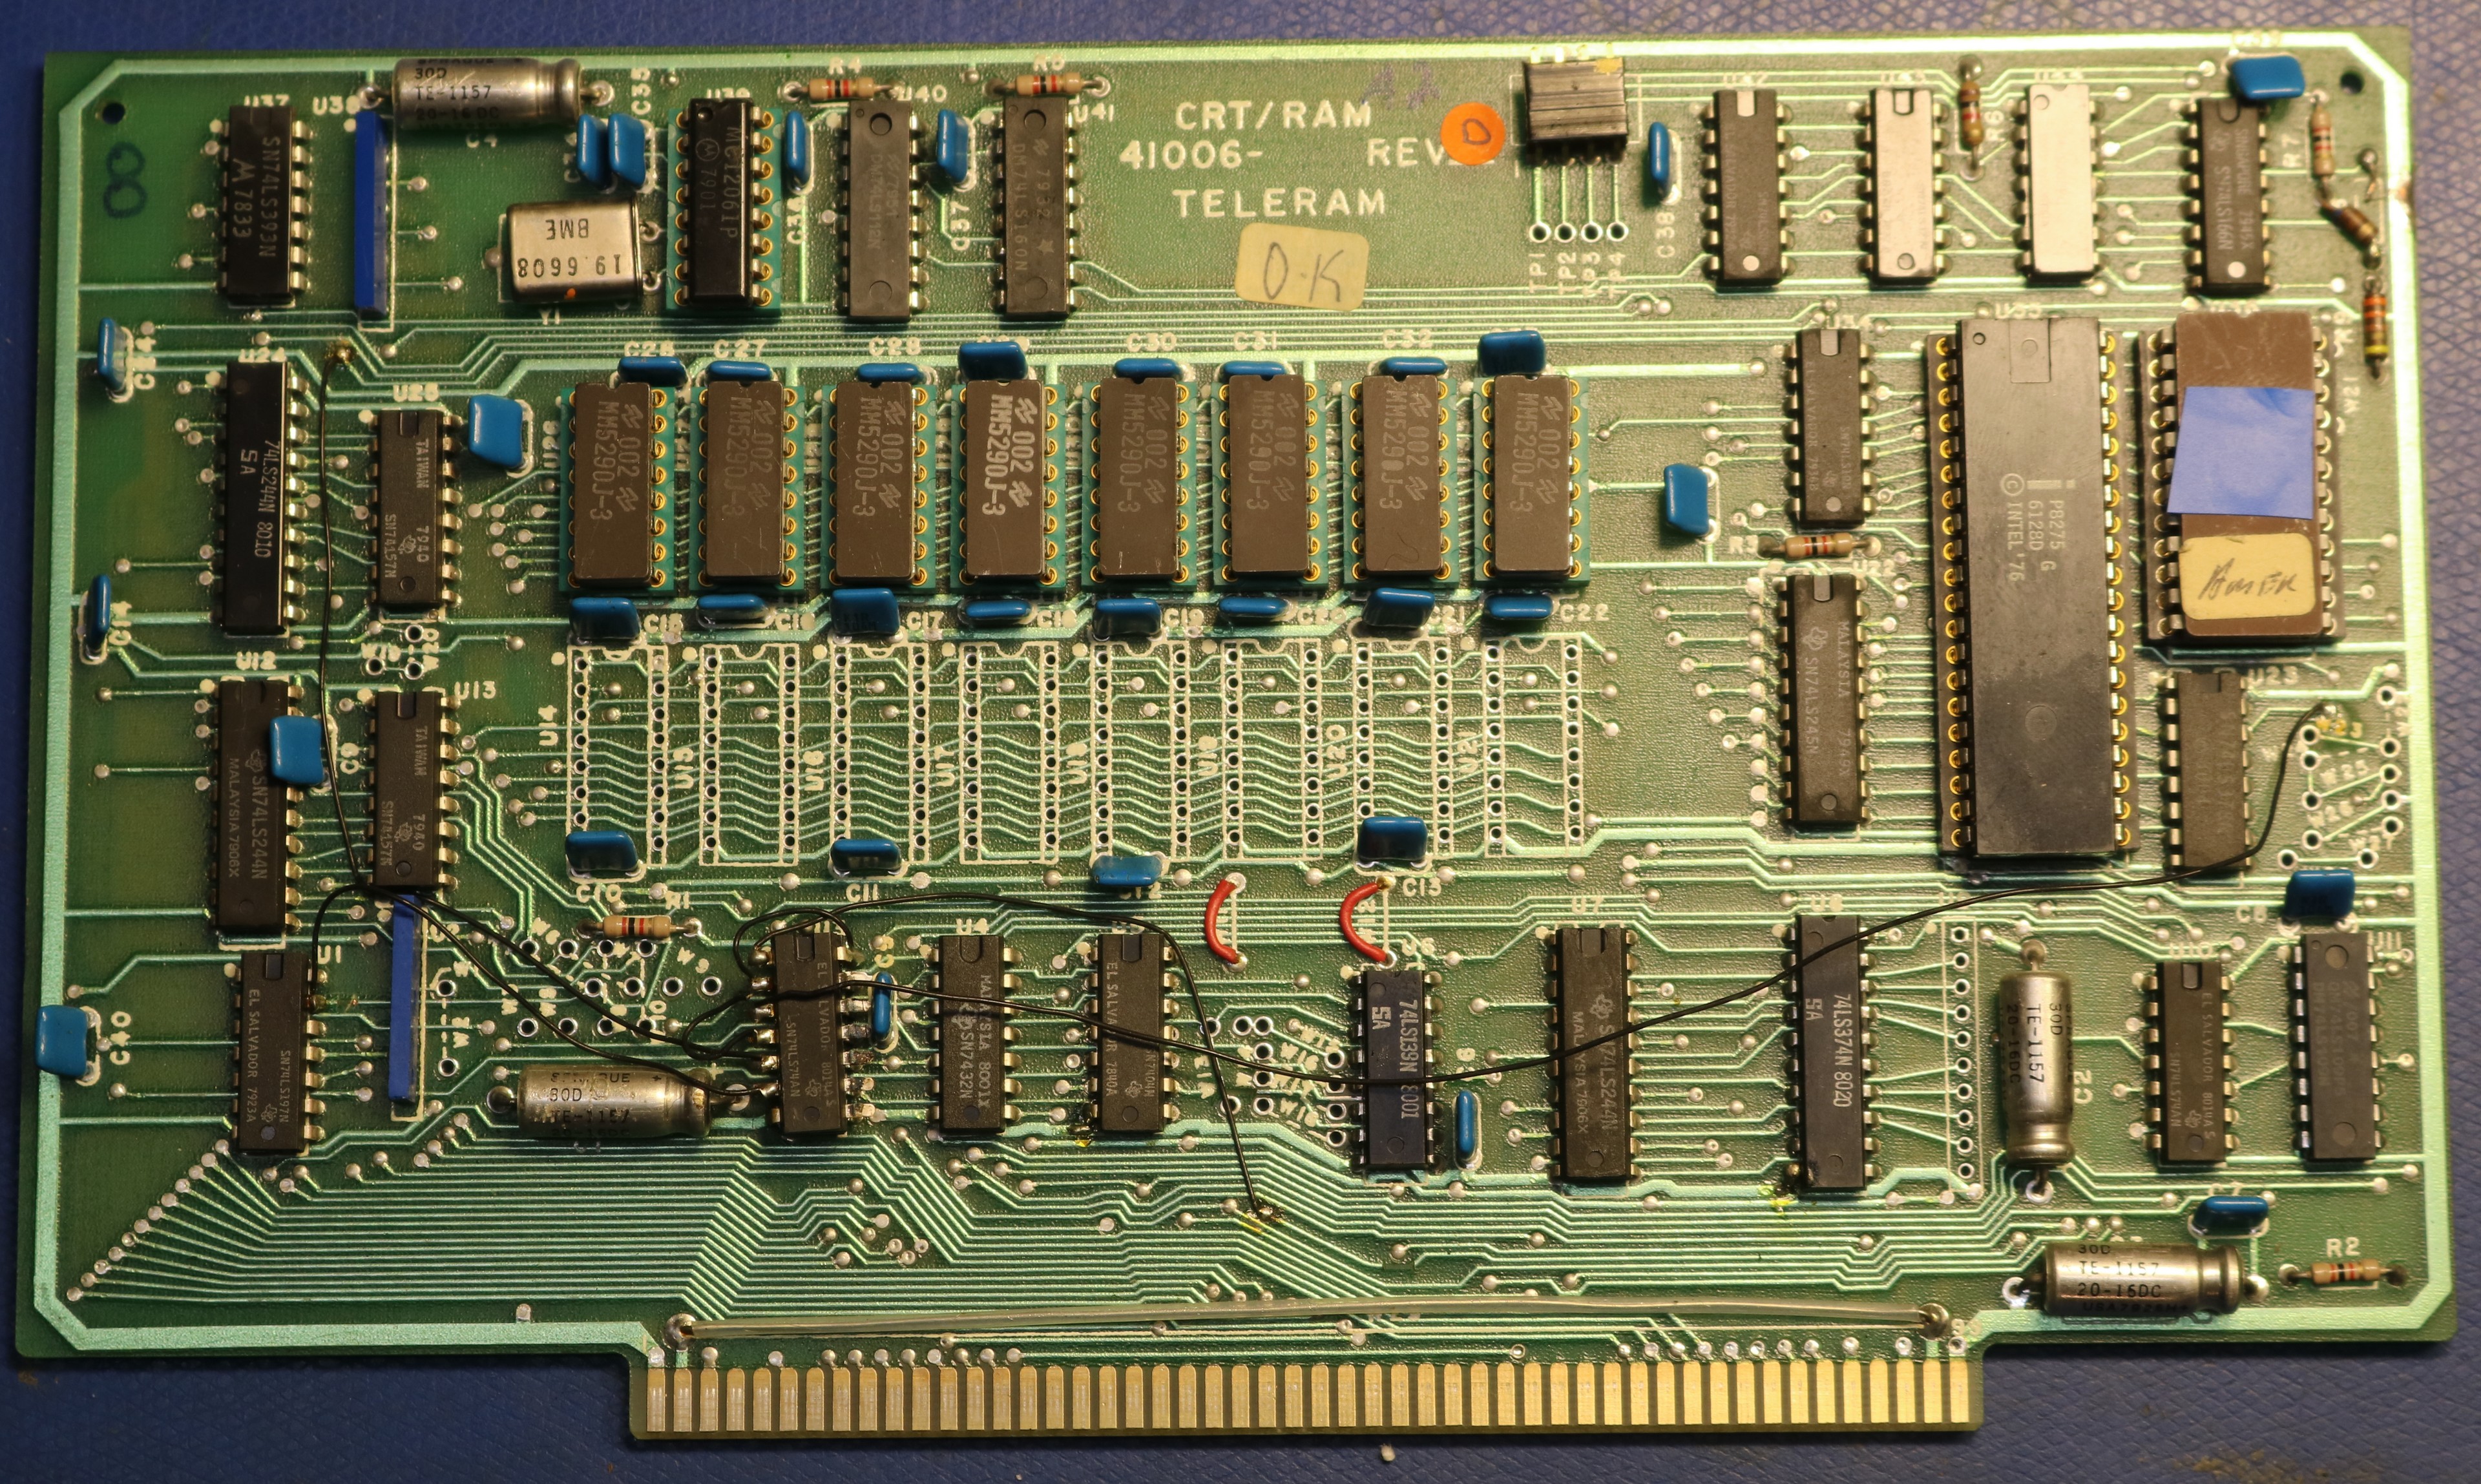
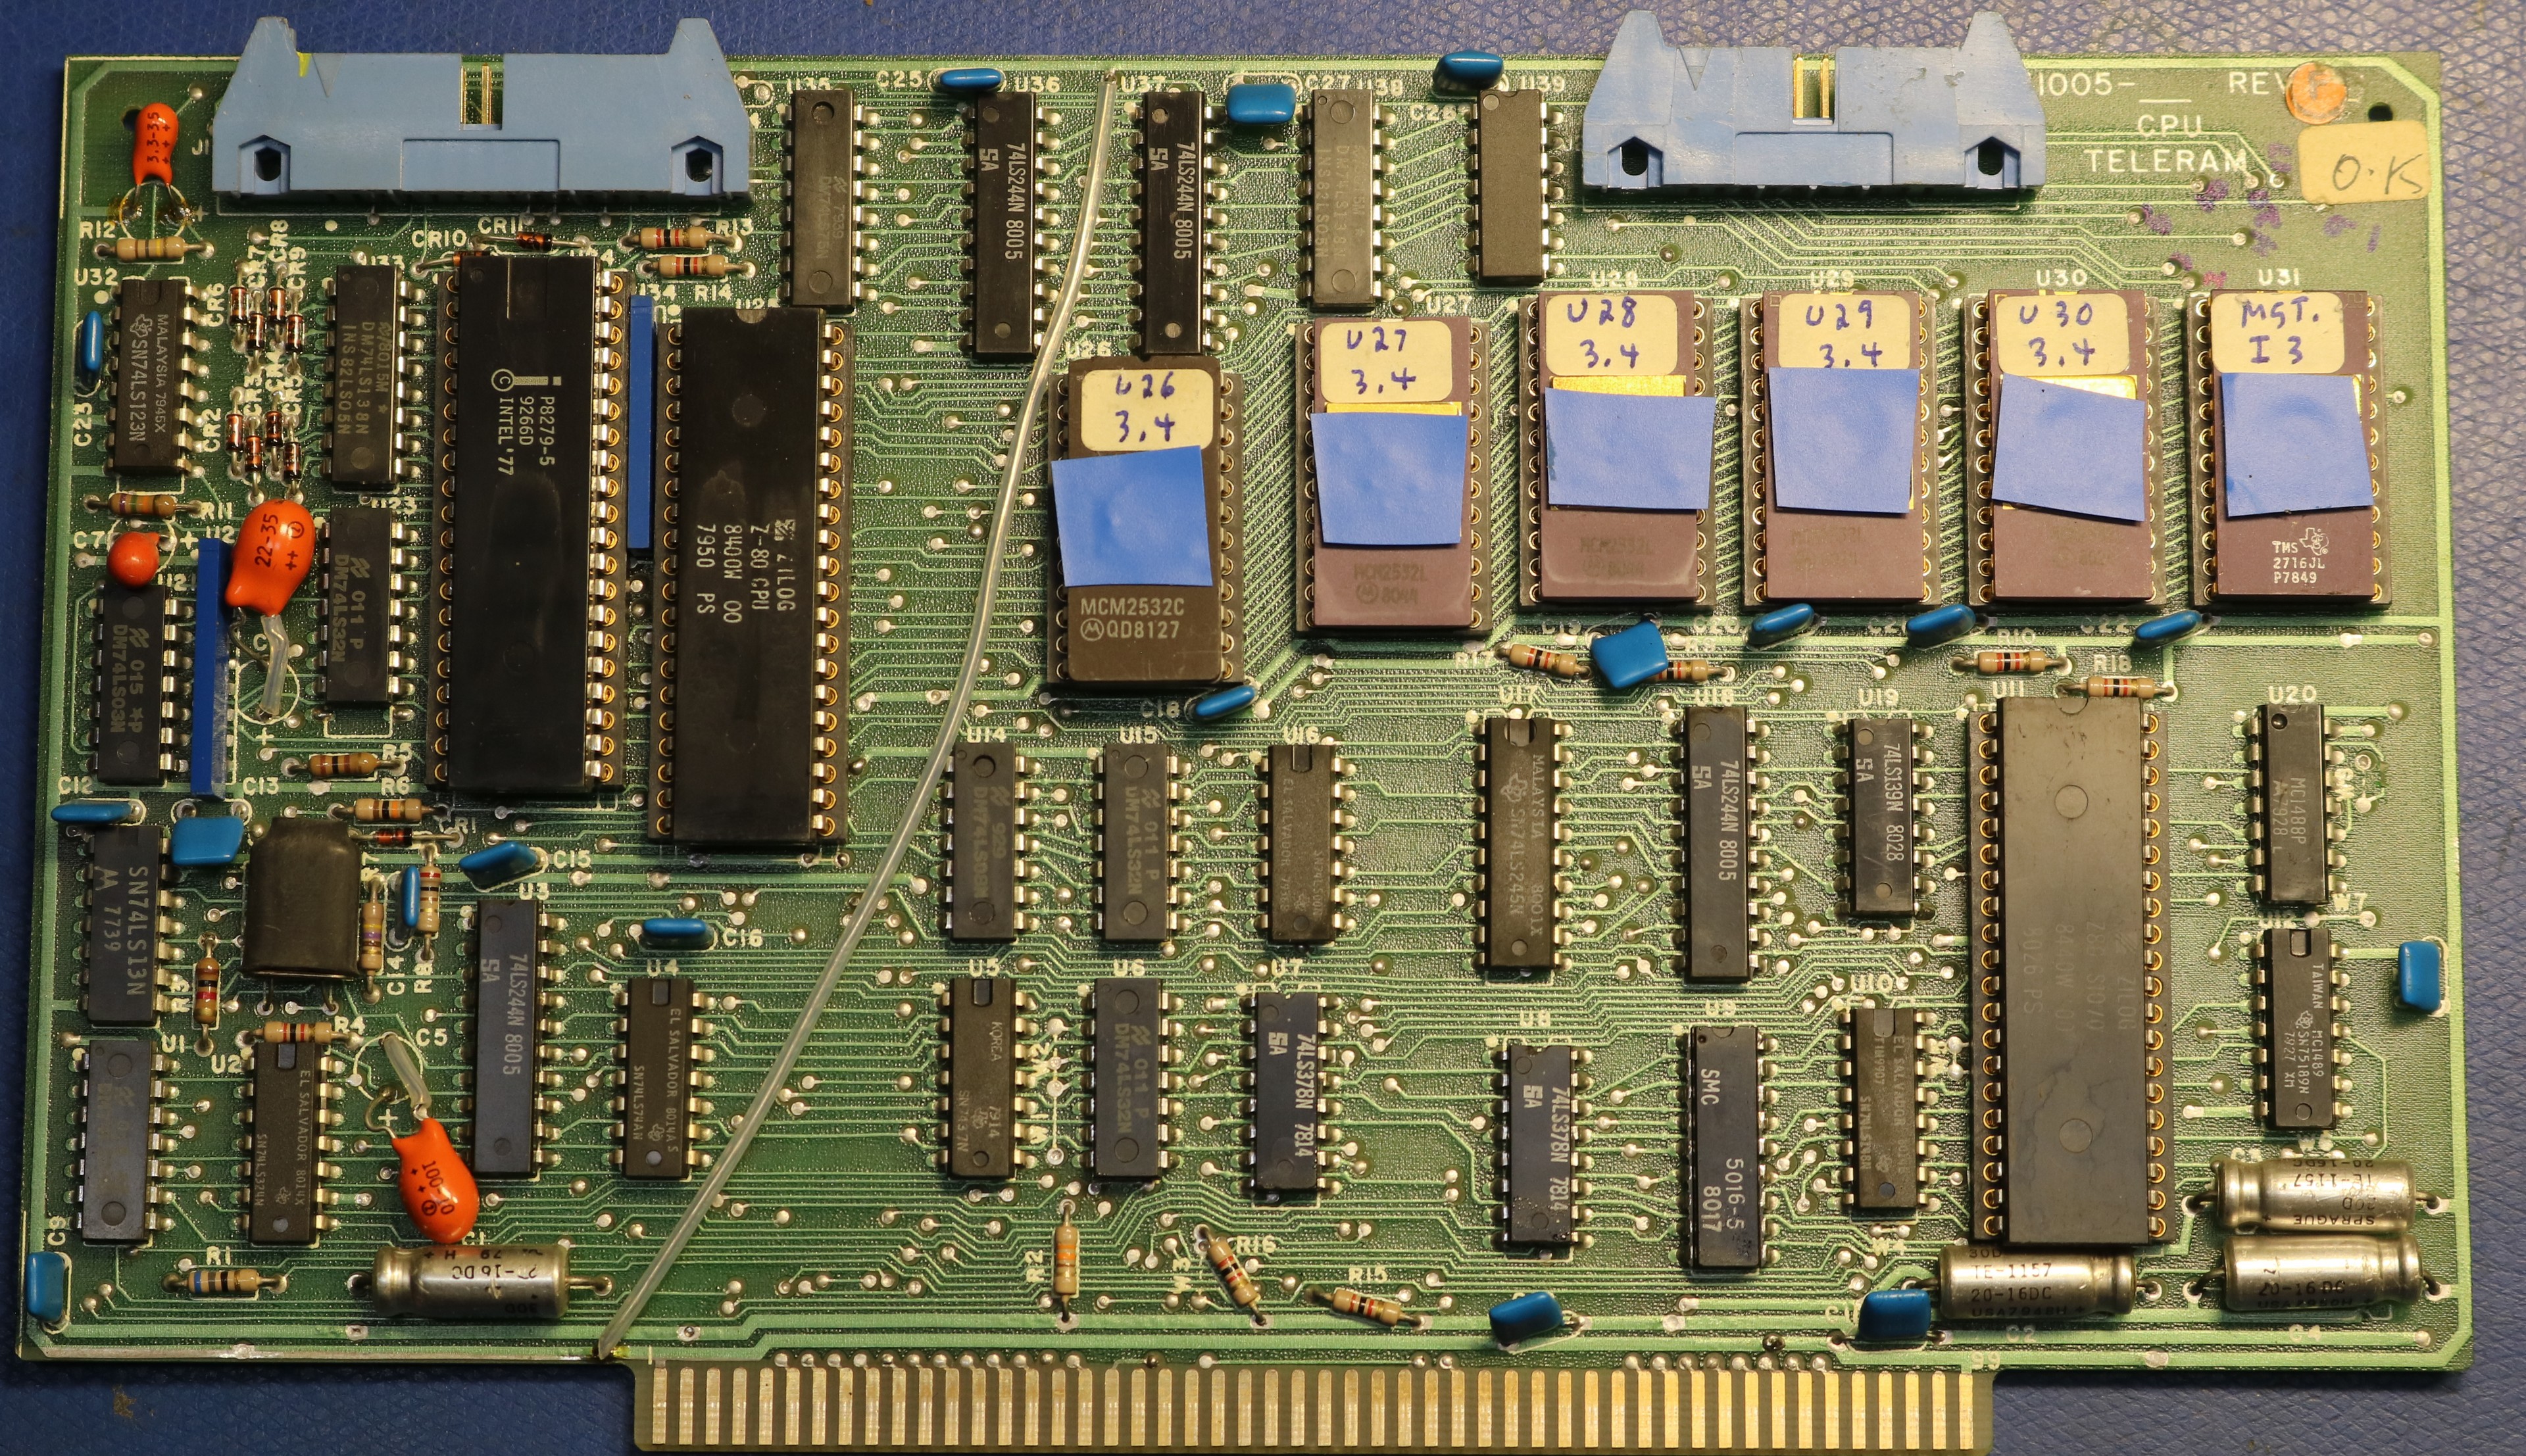
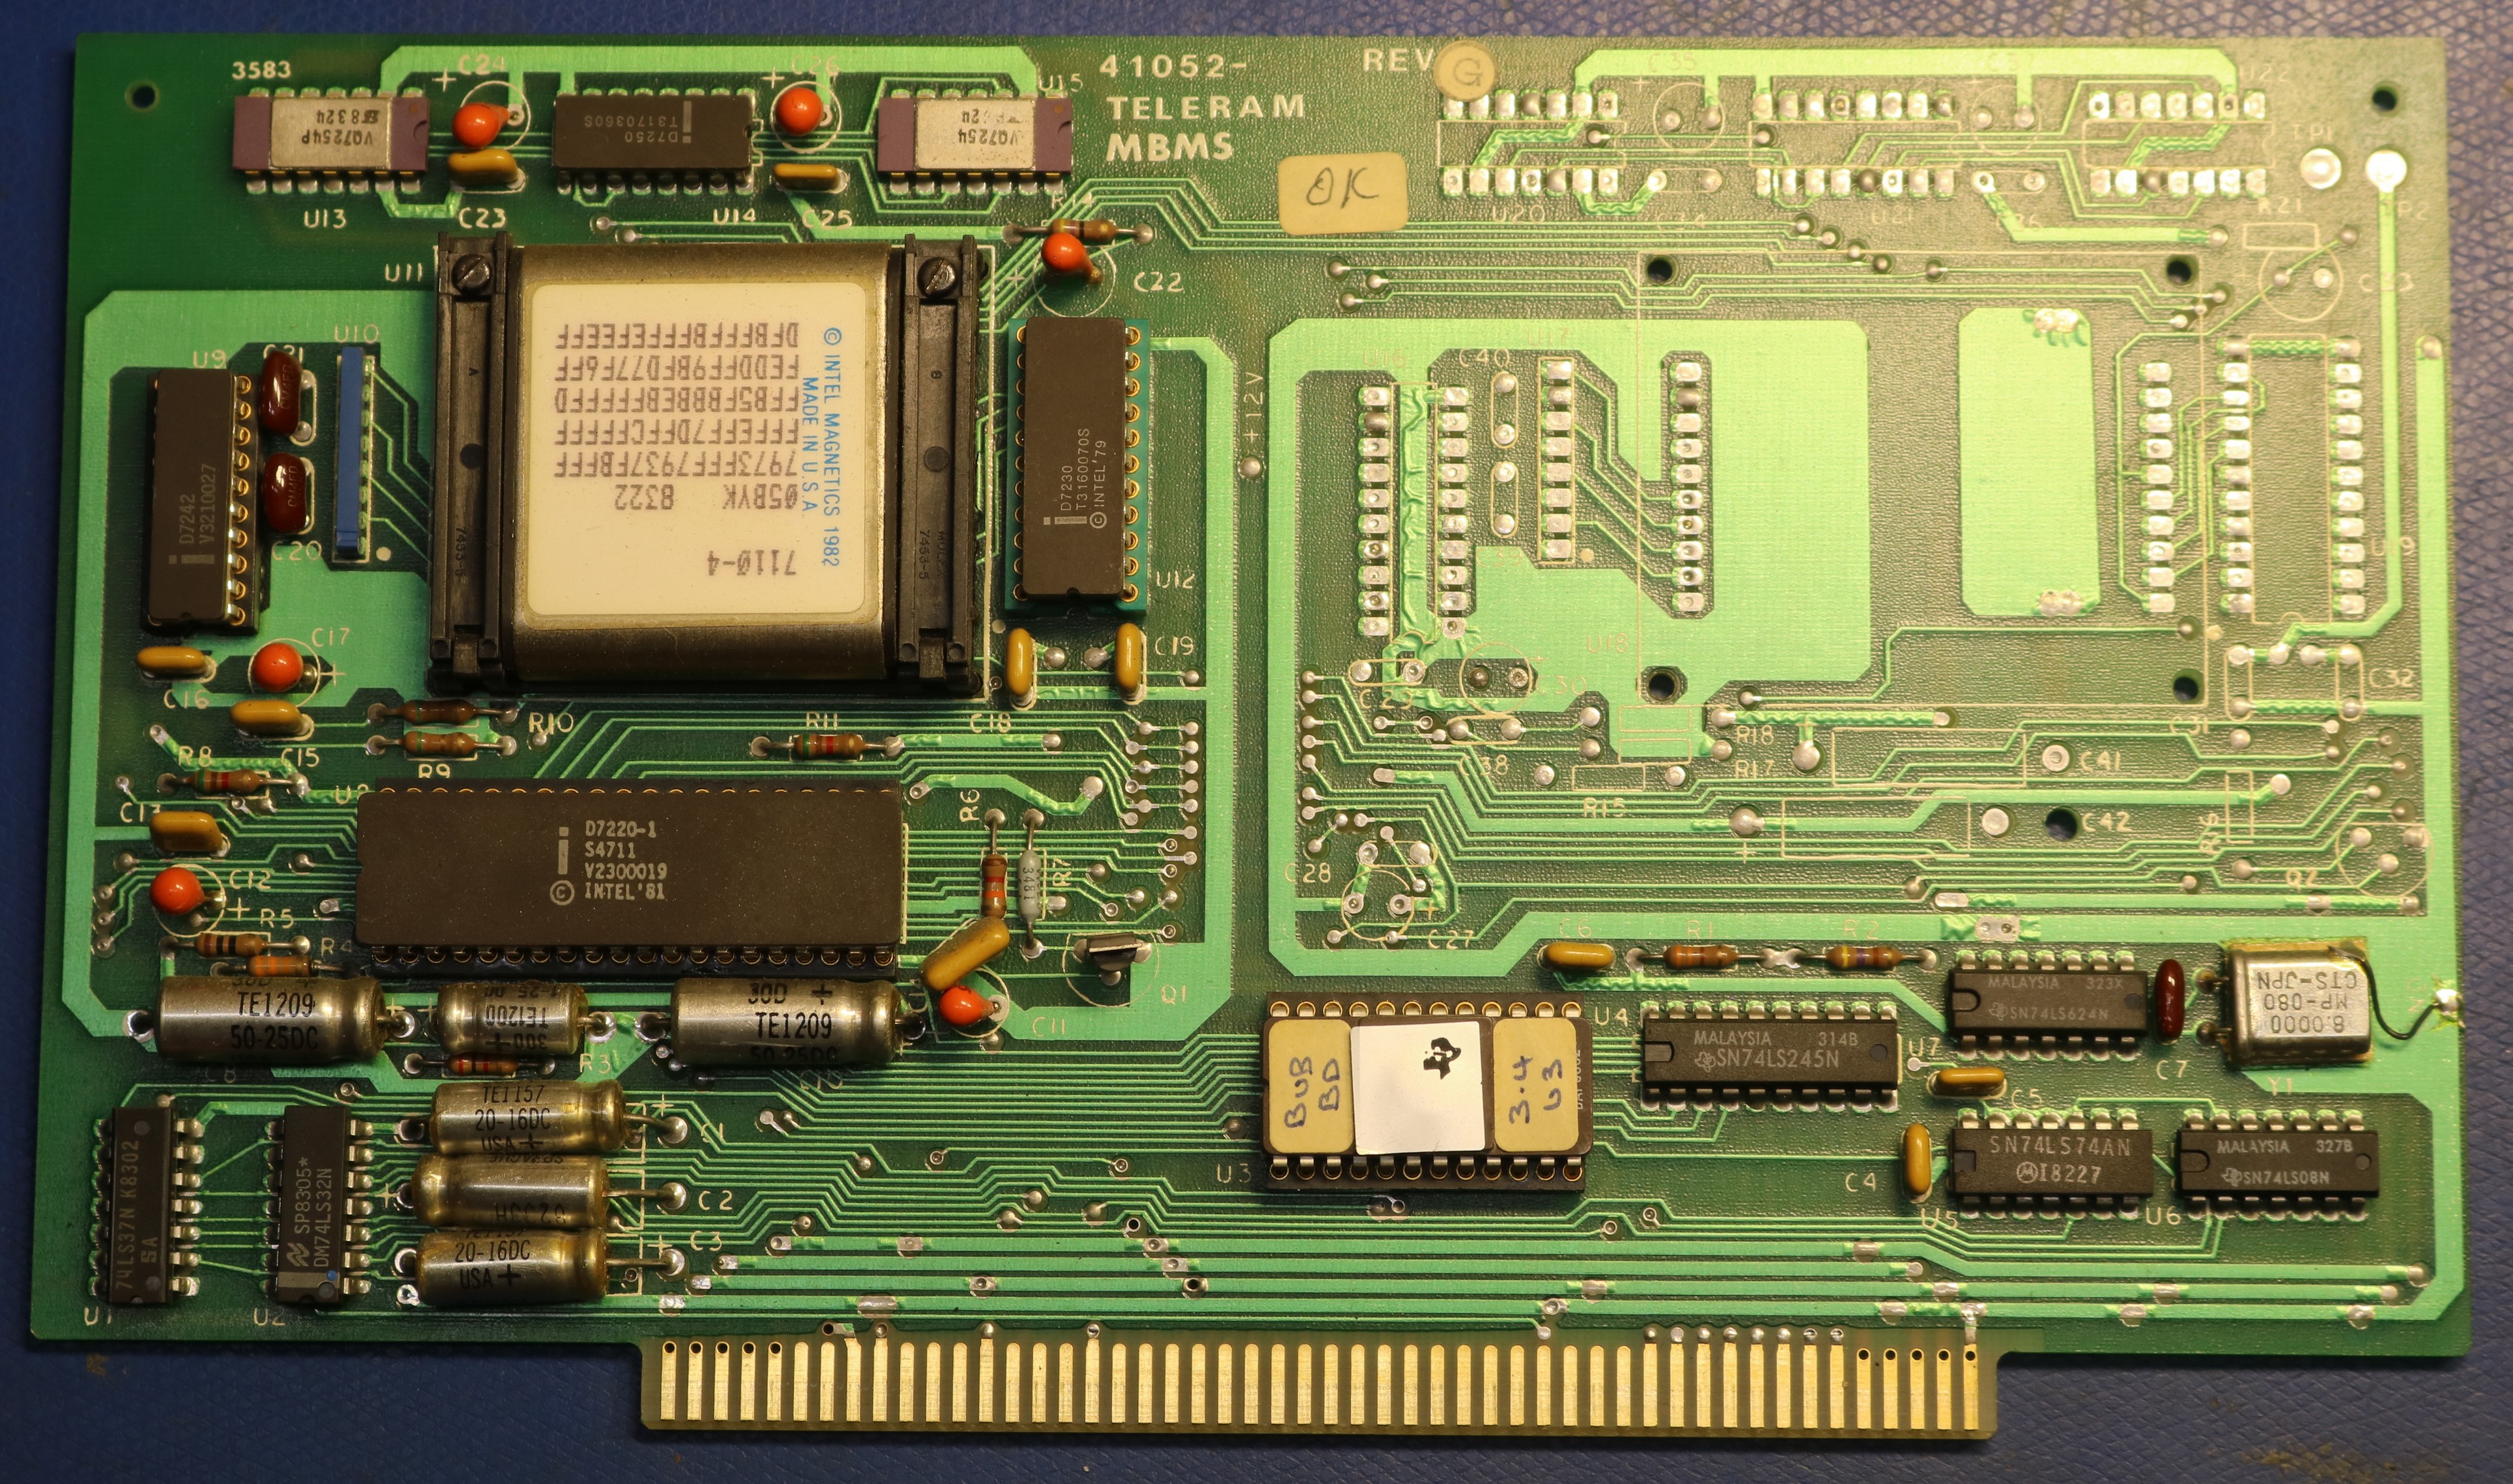
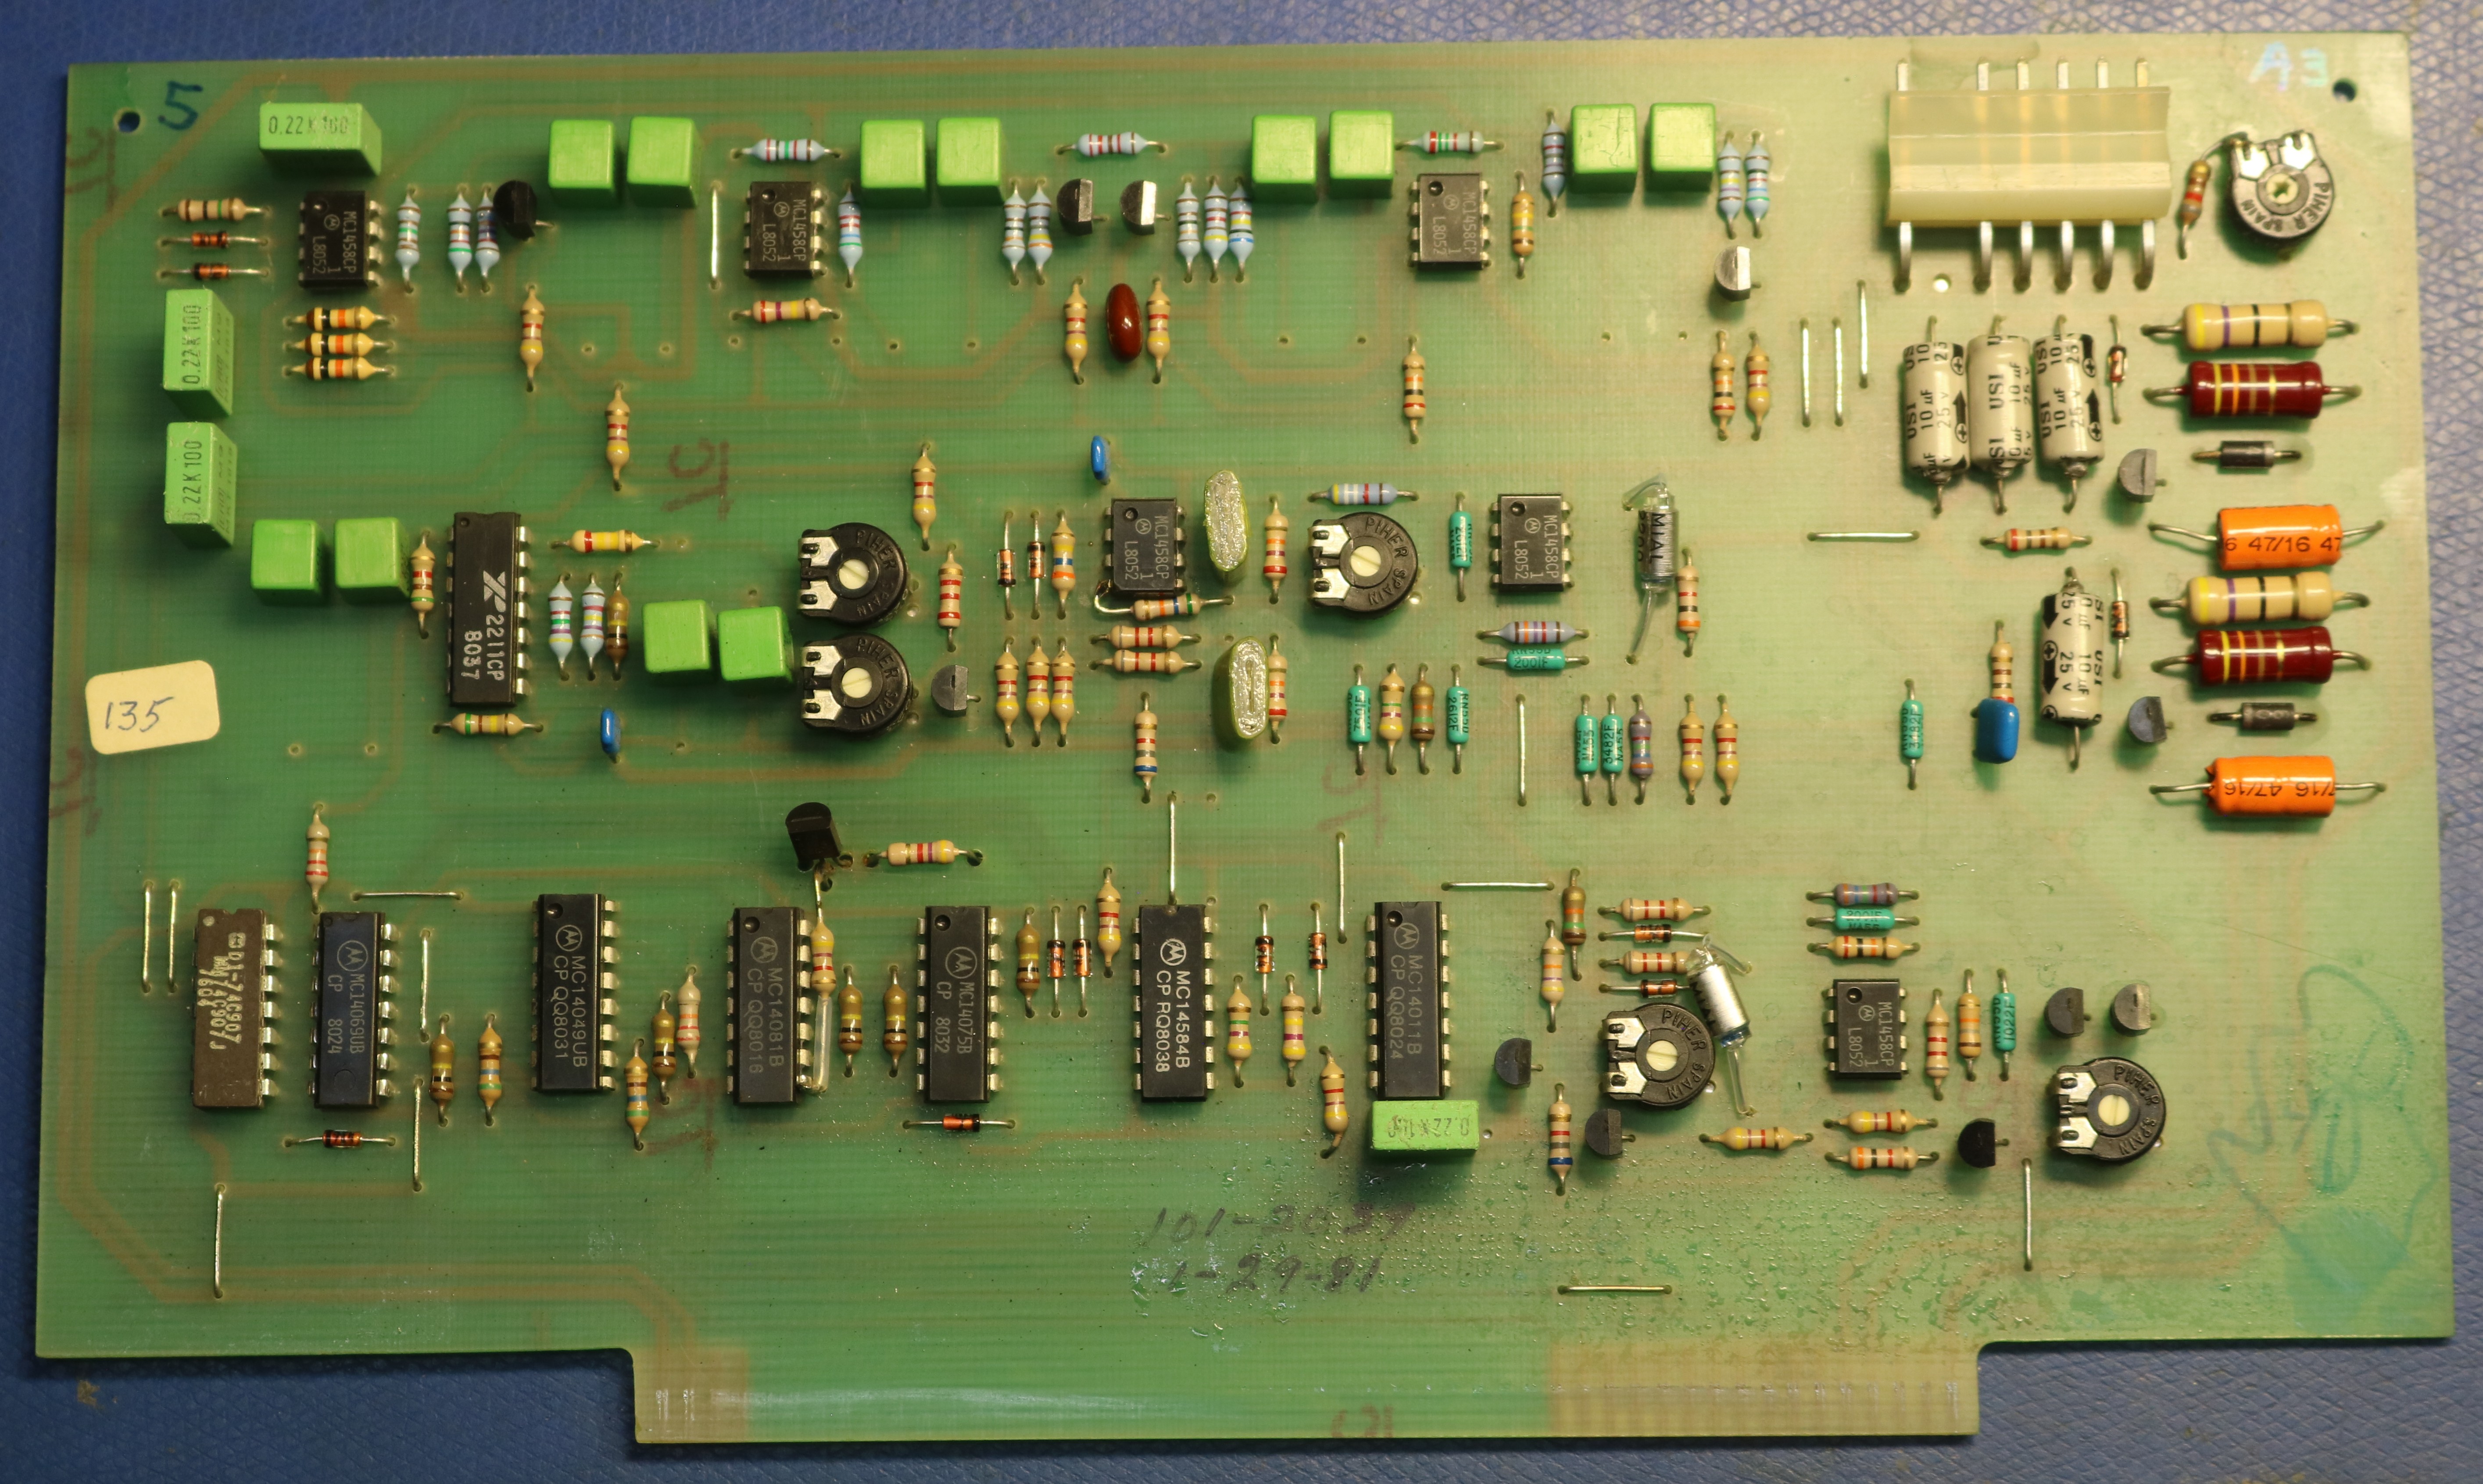
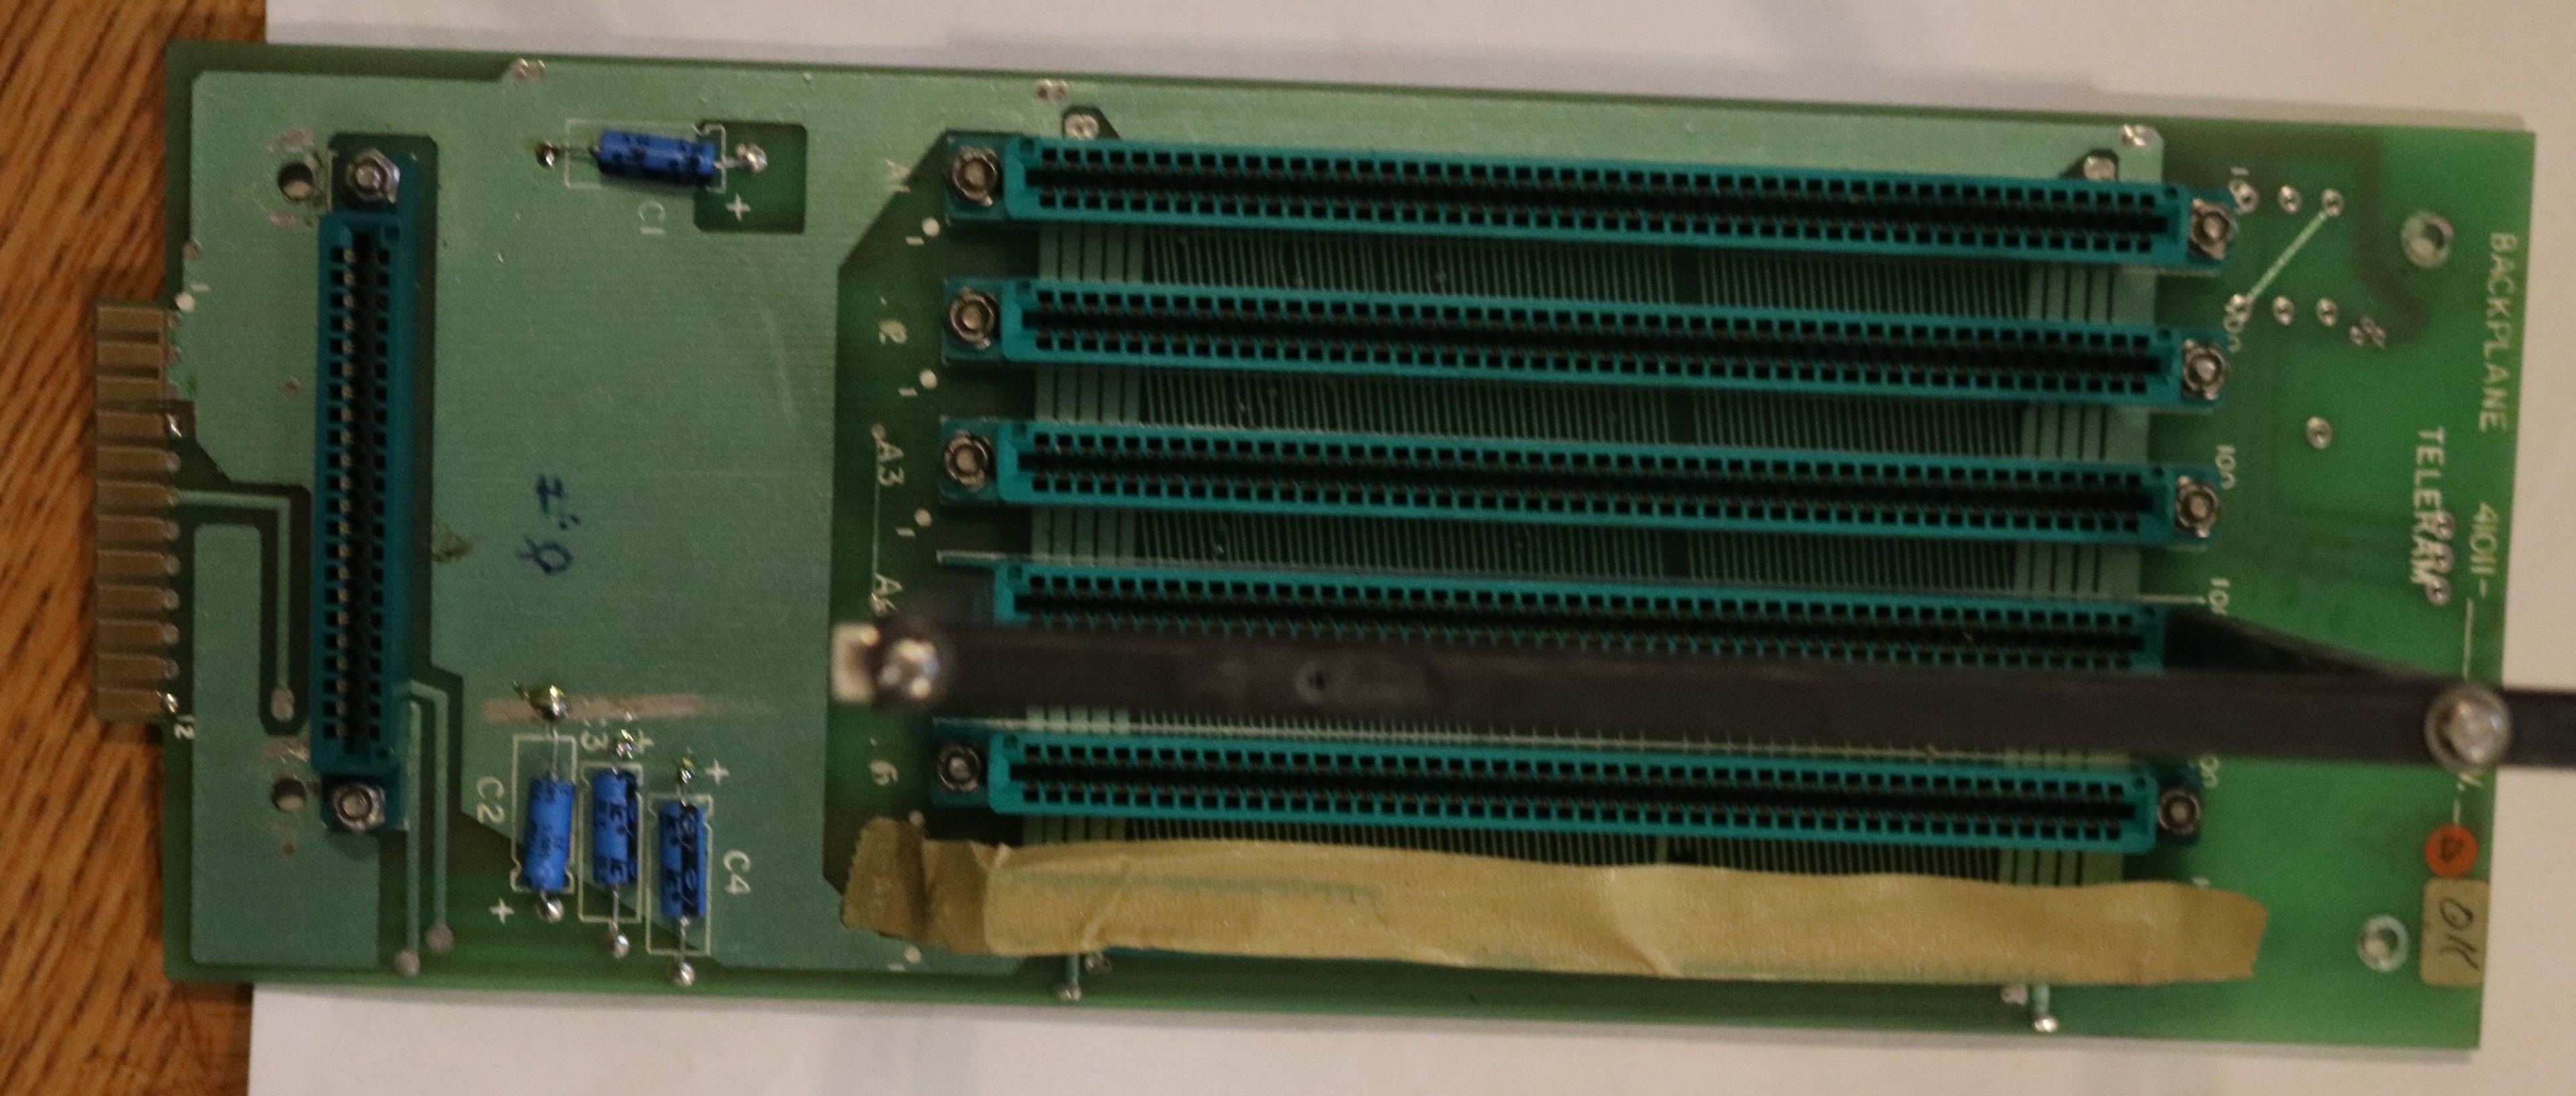
Pictures
Here are some pictures of the internals of this very unique computer.