This article describes how to convert a Sandrail from an swingaxle suspension to an IRS bug suspension. There are several reasons for doing this. First of all, let’s look at how the camber of the tires changes from a swingaxle to an IRS:
The excessive camber of the swingaxle can lead to a number of drive-ability problems, including an increased chance of rollover. Other advantages of the IRS:
- You can remove the transaxle without having to remove the wheels
- You can remove the axles and still tow the vehicle (good should you ever suffer a catastrophic transaxle failure in the field)
- Less opportunity for fluid leaks since the axles are not live
- In my opinion, IRS transaxle is much easier to tear out of the vehicle, throw on the workbench, and work on. Swingaxle is a large unwieldy mess.
Disadvantages include the need to maintain CV joints in addition to all the stuff you usually maintain. It’s another set of parts to wear out, and another source of potential expense.
As if converting from swingaxle to IRS isn’t enough, this article is also going to discuss conversion to an 002 Bus Transaxle. Why a bus transaxle? They’re generally more heavy duty than a bug transaxle. An 091 is even better than an 002, but the 002 is what we had access to. The Bus conversion will add a few wrinkles due to it’s slightly different configuration and need for different mounts.
Part 1 – Conversion from Swingaxle to IRS
Let’s get started, by putting the sandrail up on jack stands and removing the tires.
The next step is obviously going to be to remove the swingaxle, mount, shocks, spring plates, spring plate covers, etc. There’s nothing fundamentally difficult about that, but it’s a bit of work. We also removed the gas tank since it seemed prudent with all the welding going on. It would have been nice if we’d took pictures of all this, but we forgot.
Now is the time to talk about modifications to the torsion housing. An IRS suspension uses trailing arms in addition to spring plates to locate the tires. This is great, as this semi-trailing-arm design is what allows us to separate the suspension from the drive train (meaning we’ll be able to have a rolling chassis regardless of whether or not the transaxle is installed — try doing that with a swingaxle!). Problem is, the front of the trailing arms have something called ‘pivot brackets’. Since these brackets aren’t used on a swingaxle, they typically don’t exist, and we’re going to have to make them.
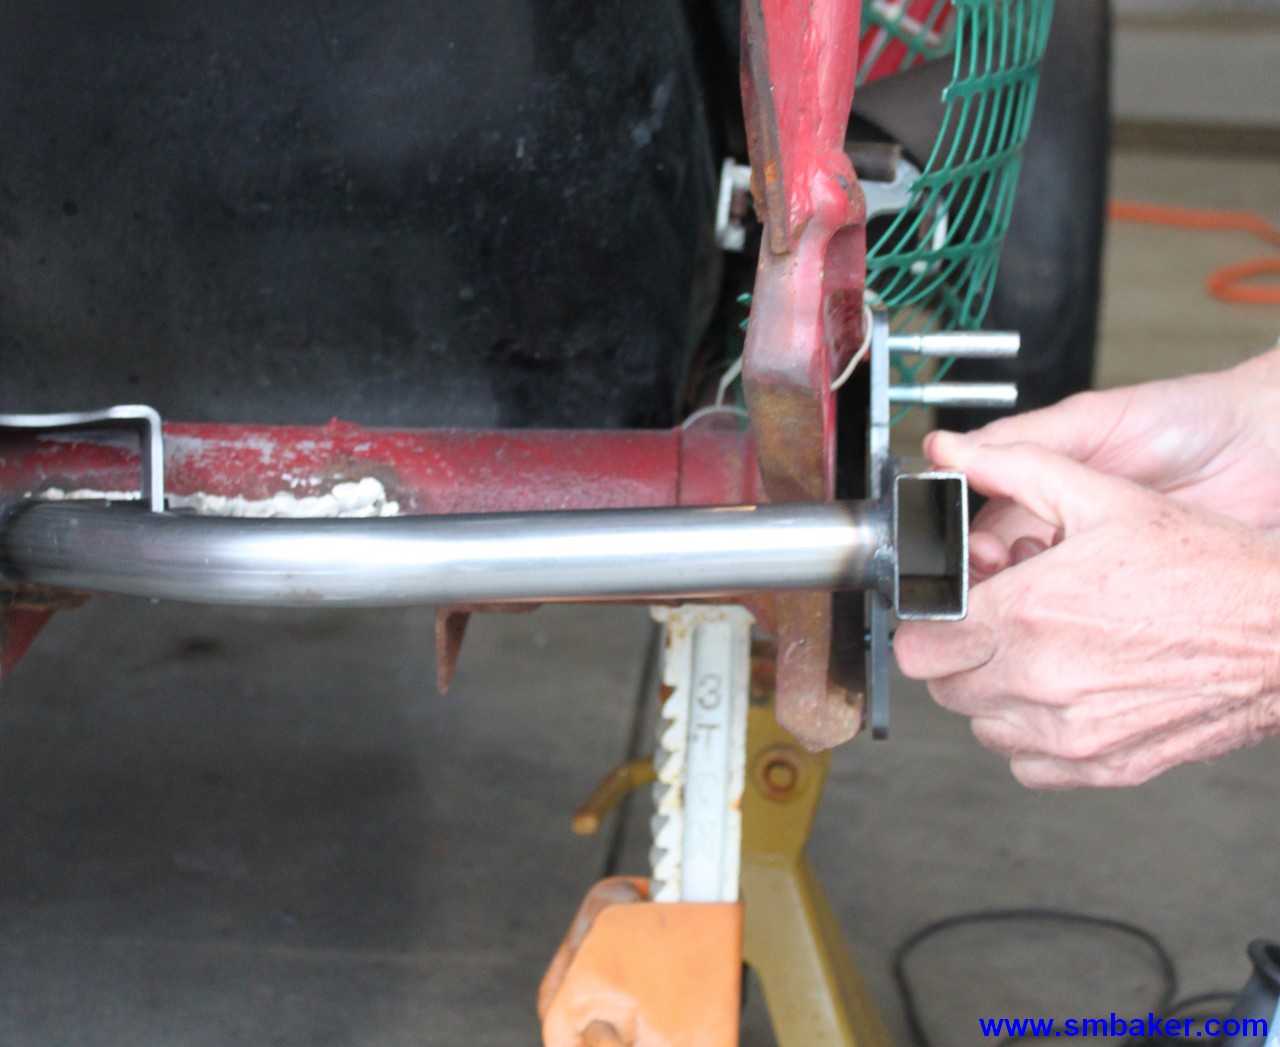
The brackets have to be placed in a specific location for your suspension to be aligned properly. To achieve this, we’re going to use a couple of jigs, purchased from Pacific Customs. These jigs bolt to the torsion housing, where the spring plate covers used to bolt, and precisely locate the pivot brackets. Here’s a picture of test-fitting one of the jigs:
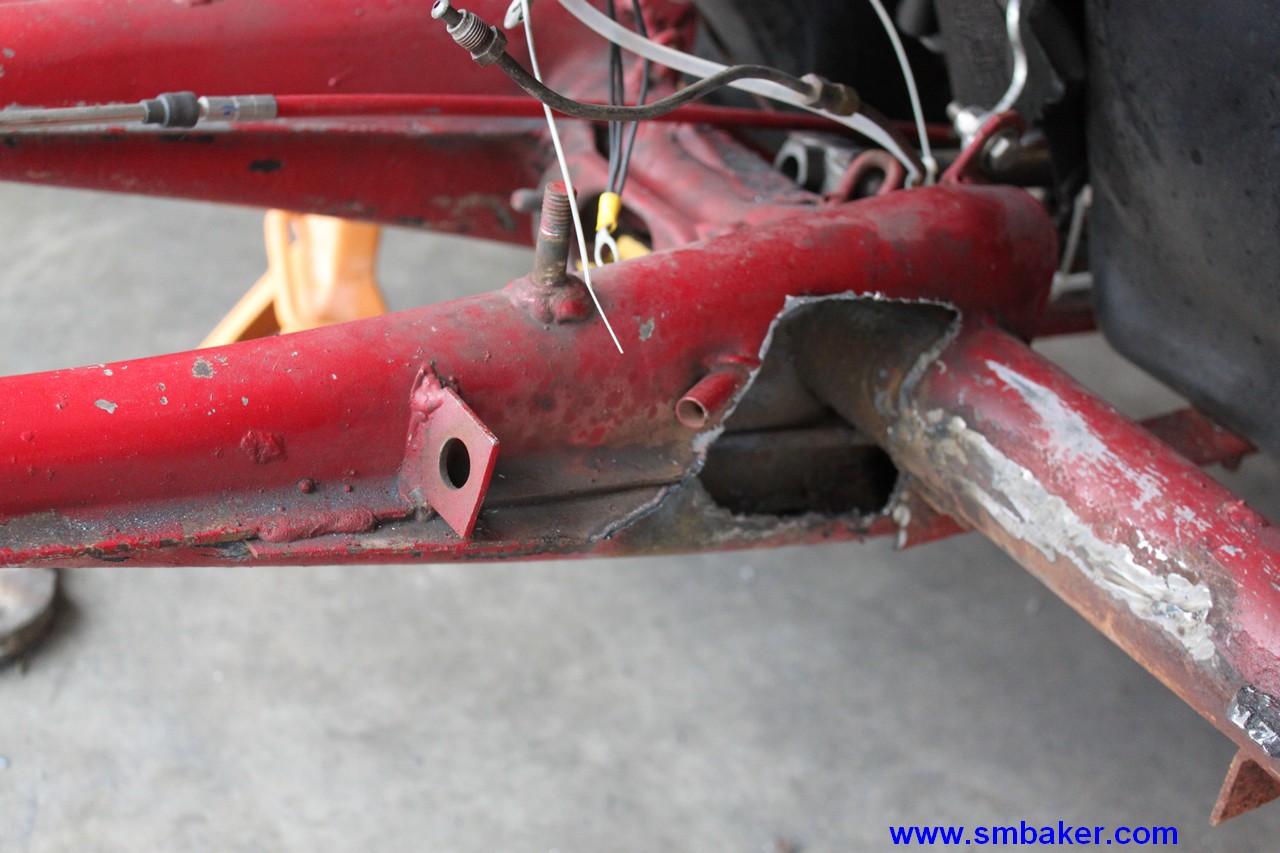
As you can see above, we put a couple of really long studs into the torsion housing to help us locate the jig. You can also see a little gap at the bottom, which means we weren’t quite there yet with the placing. Now, life would be very simple if all we had to do was jig and weld the brackets. Unfortunately, it isn’t quite so simple… The frame horns need to be cut away to fit the brackets:
It’s a long and tedious process of cutting a little, test-fitting, cutting some more, test-fitting, cutting a little more, etc. In addition to the frame horn, you’ll probably also have to do some grinding on the brackets themselves (like most aftermarket VW parts, the brackets not only don’t fit, they aren’t even close to fitting). Take your time, and make sure everything fits just perfectly.
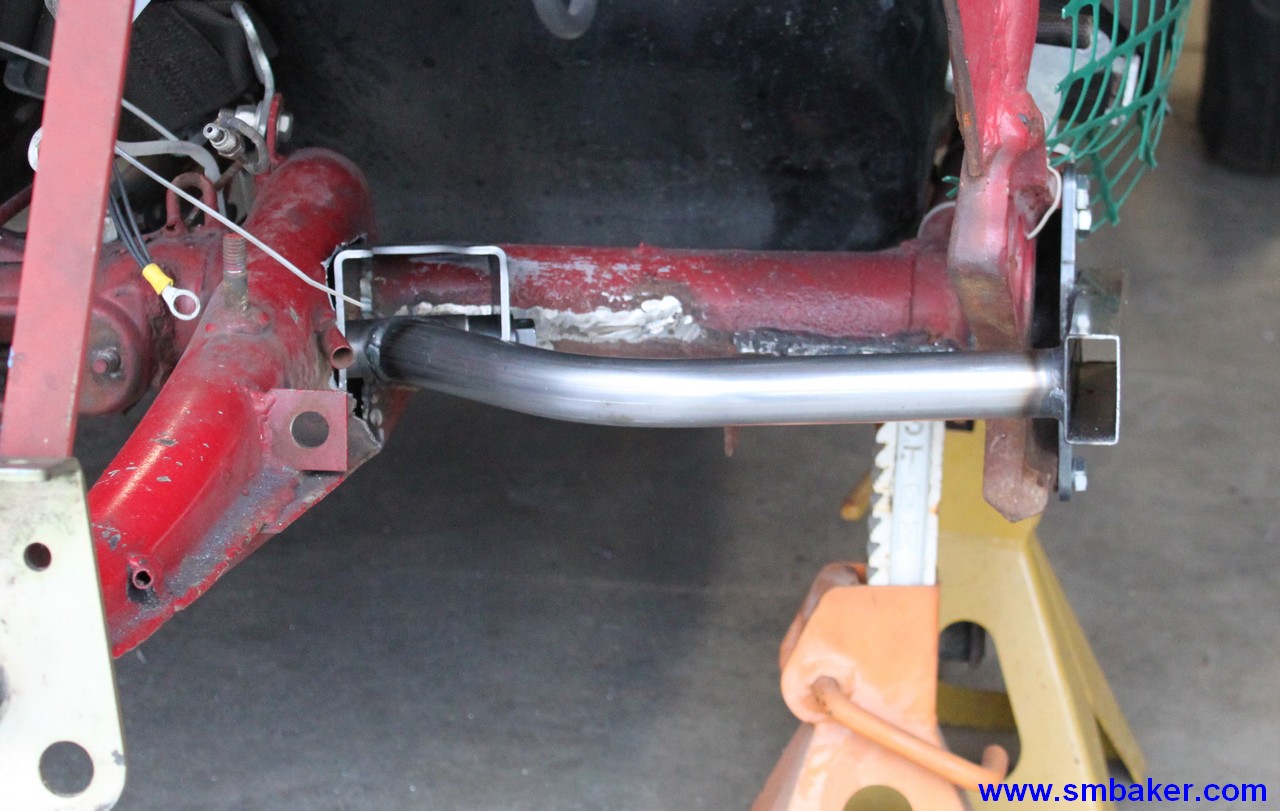
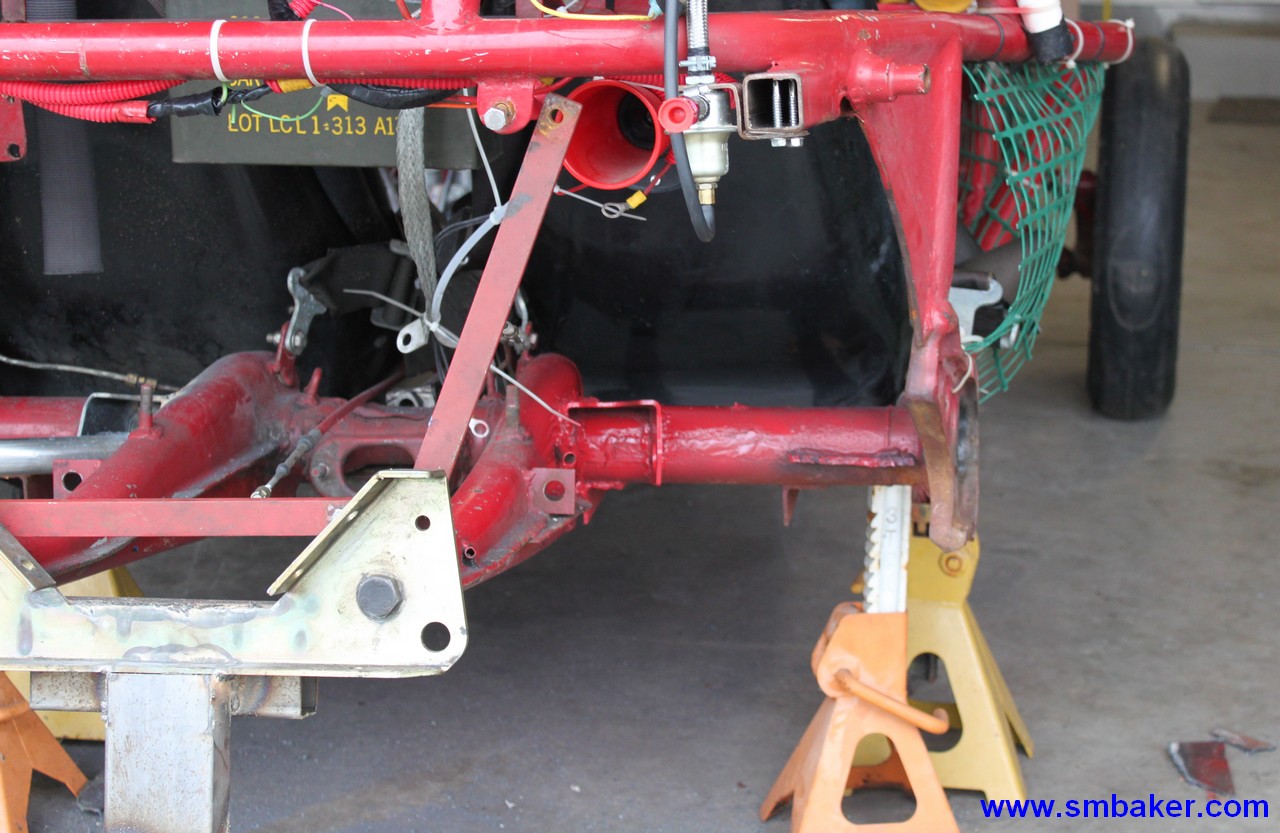
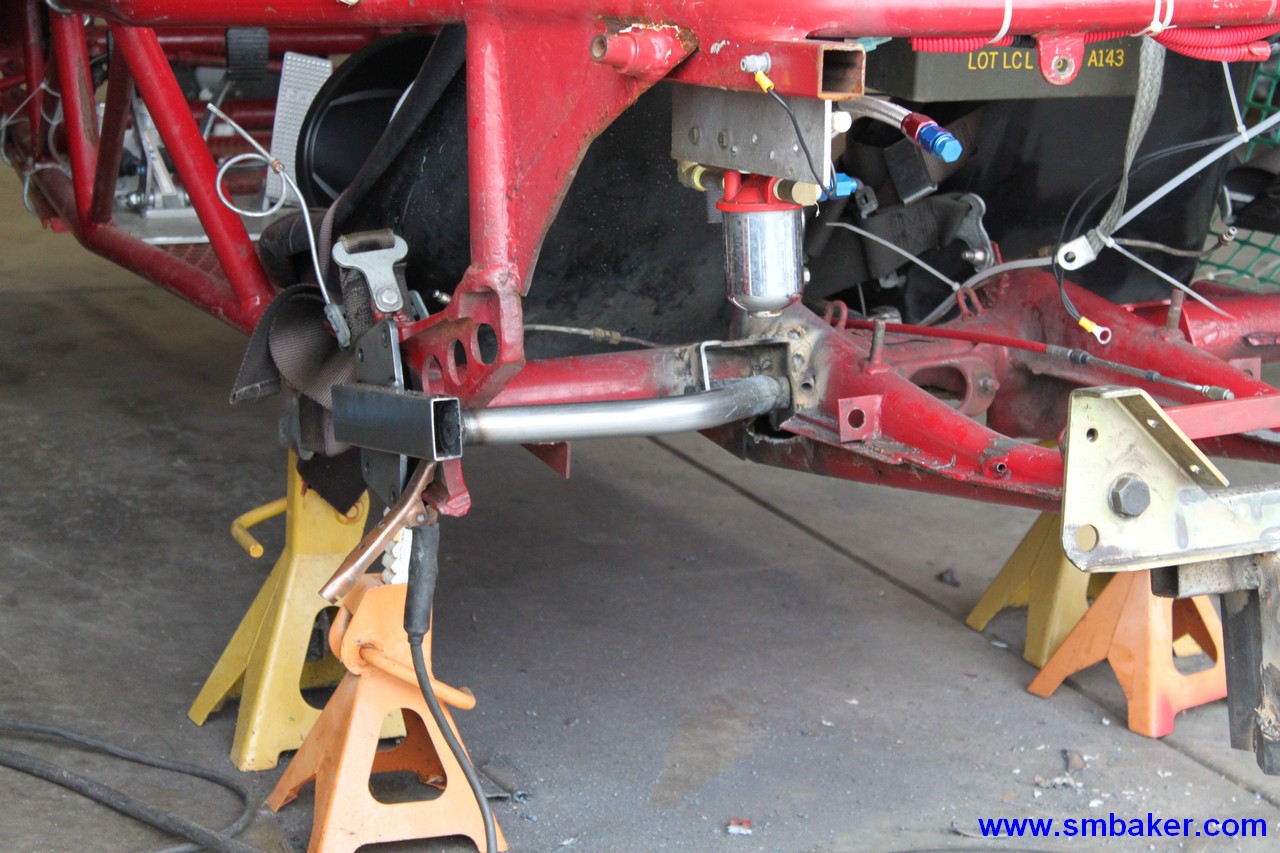
As you can see, we replaced the temporary studs with bolts. No gaps anwhere… it’s ready to be welded. The better the job you did with cutting the frame horn, the easier the job welding. As you can see we left some significant sloppy gaps — those will end up taking a bit of work to fill in with metal. You want it all welded back up strong and secure. Below is what it looks like welded and painted.
Now, repeat everything with the other side:
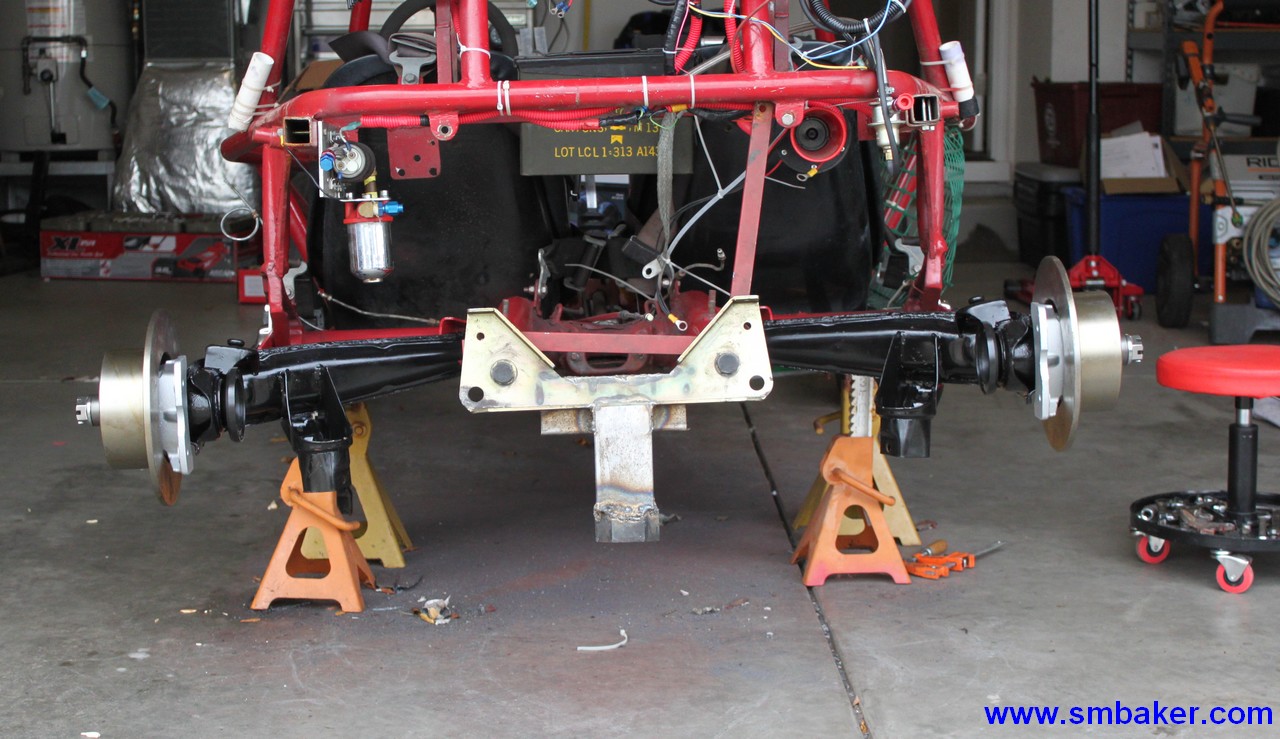
Ok, the hard part is all now behind us. All we have to do now is to assemble a standard IRS suspension. It’s time to go buy some parts:
- Trailing arms … used, from local VW shop
- Wheel bearings … pacific customs, new bearing set
- Wheel bearing misc … used, from local VW shop (spacers, end caps, bolts, etc)
- Stub axles … pacific customs, bug-to-bus-CV conversion stubs
- Spring plates … pacific customs, special plates for short torsion bars
- Spring plate covers … pacific customs, fancy stainless steel ones
- Disc brakes … CB Performance (no, you don’t need disc brakes, but it just felt wrong to install those ugly old drums)
- Urethane torsion bushings … pacific customs
- Urethane pivot bushing … pacific customs
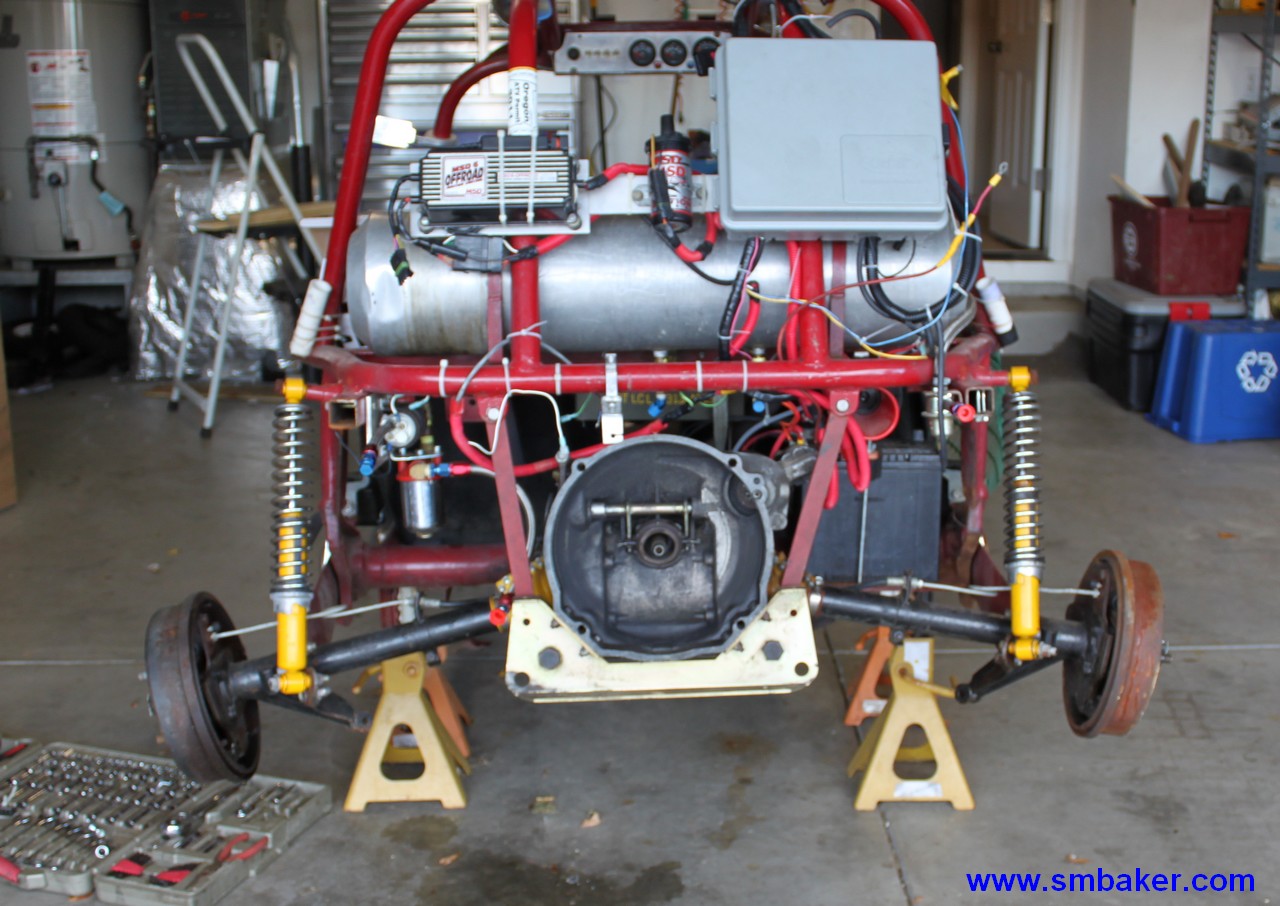
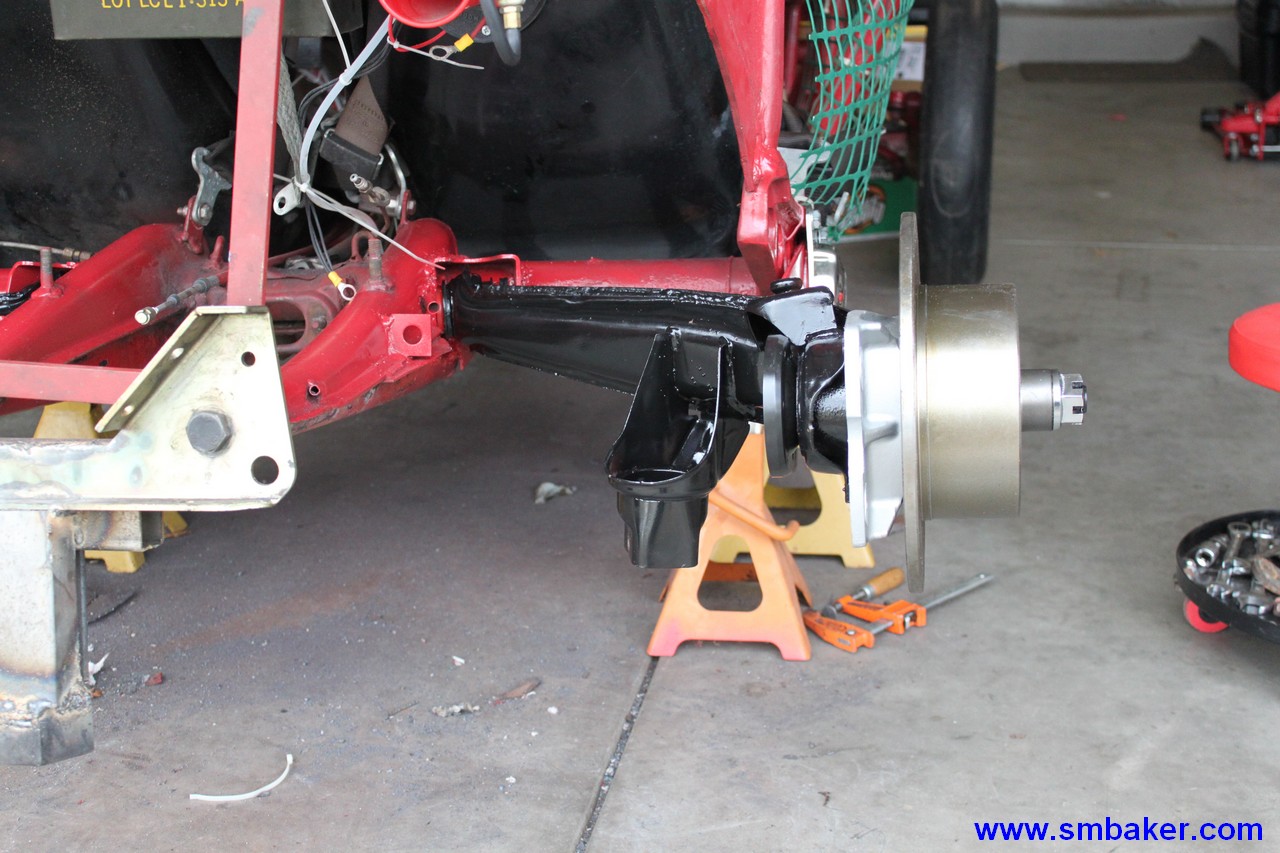
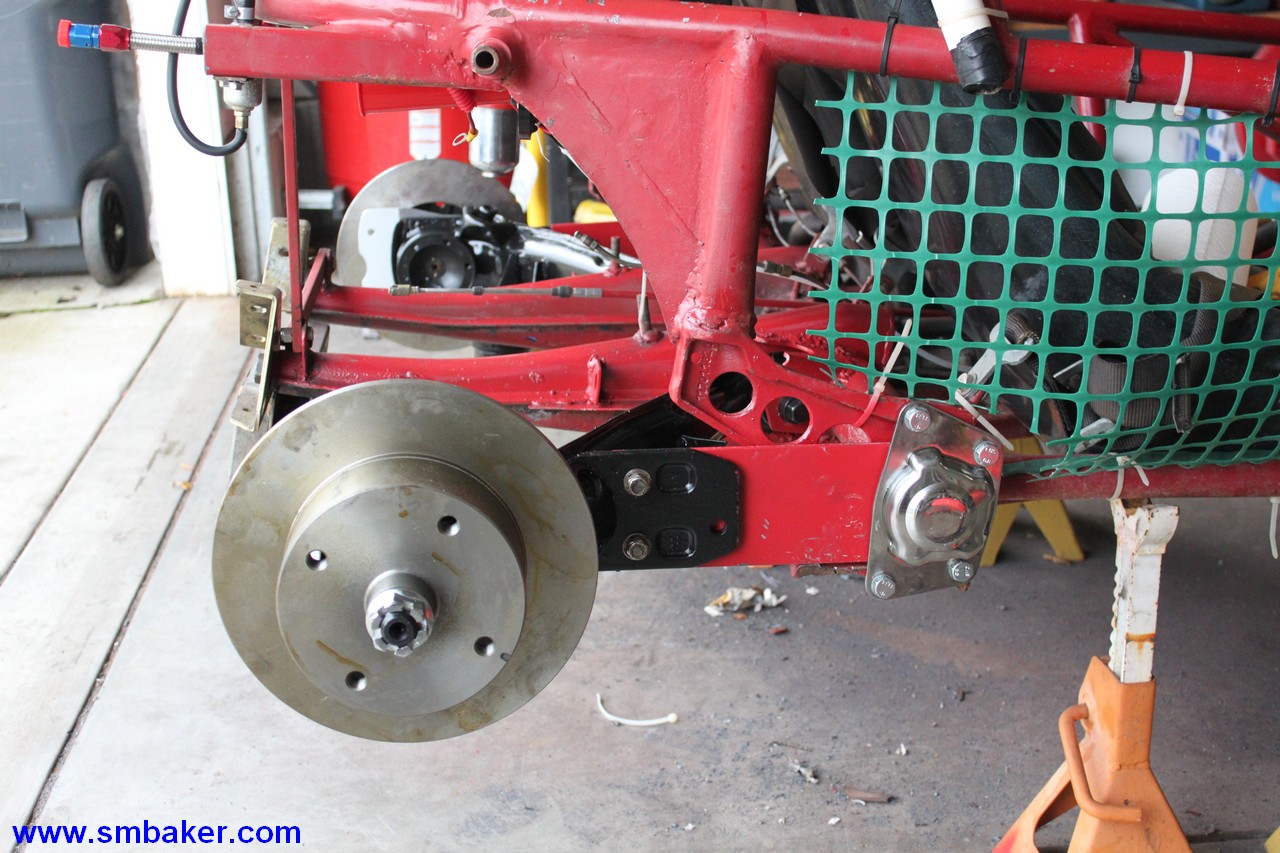
Put it all together, and we have something like this:
Note that there is still one remaining bolt hole that we’re going to have to drill in the side plate. Whether or not you need to drill one depends on which year trailing arms you get, and what type of spring plates. In our case, we waited until after we had done the final alignment before drilling that hole. It’s a great way to make sure your toe-in will be permanently fixed to a desired position.
This completes the IRS conversion — if you have an IRS type-1 transaxle, you can stop here and mount your transaxle, CV joints, axles, etc. If you want to use a Bus transaxle, then we have a bit more work to do:
Part 2 – Bus Transaxle Installation
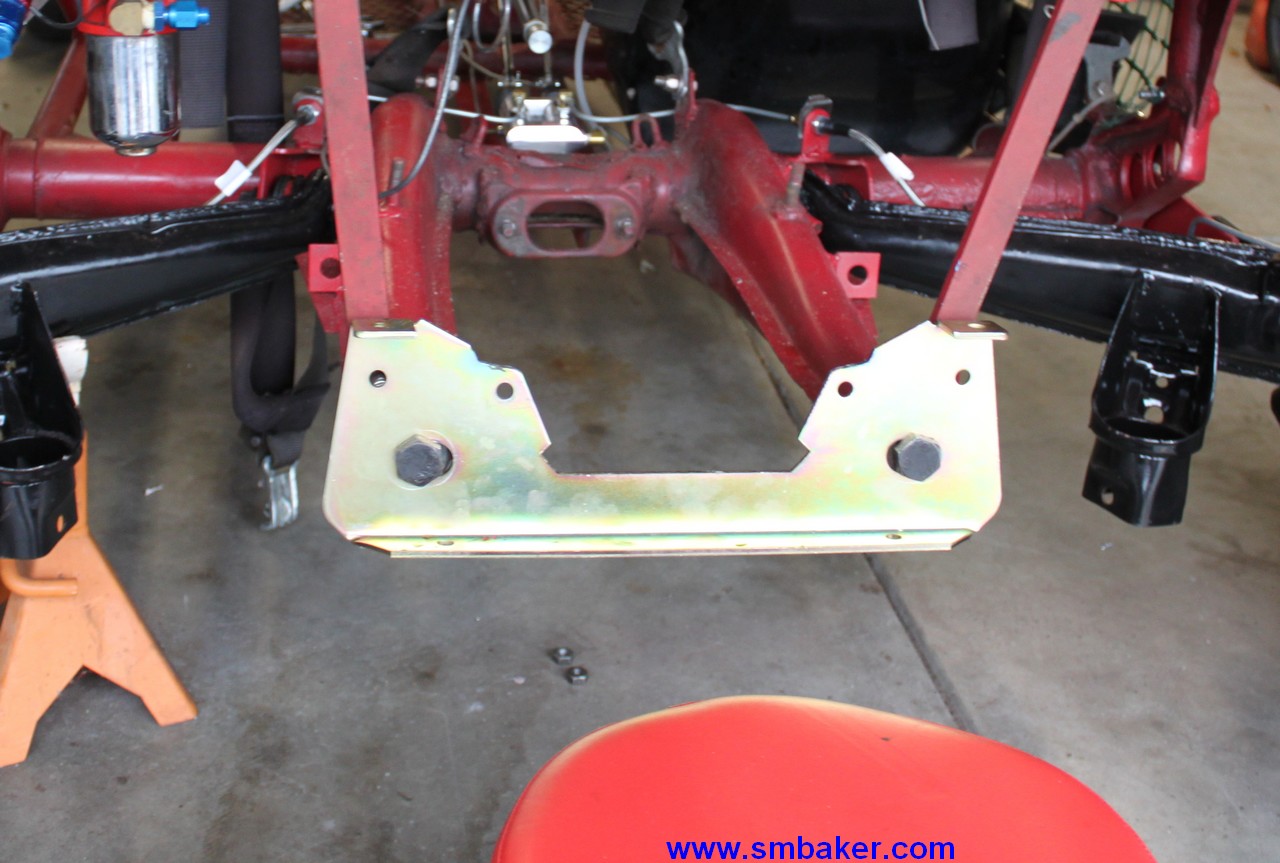
You’re going to have to decide what kind of transaxle mount you want to use, because unfortunately bus transaxles don’t fit buggy chassis. There are several different options. The first is the Bugpack-style hard mount. It has a solid plate at the front and a solid plate at the back and a couple of solid straps. It’s good and cheap. The other popular option is called a “10 degree” mount and mounts your transaxle at a ten degree incline.
Why would you want it at a 10 degree incline? There are two reasons:
- It’ll give you more ground clearance by tilting your engine, which could be handy if you have an extra sump on your motor.
- It locates the shift rod in almost the right spot.
Wait… what? Nobody said anything about shift rods being wrong. Well, yes, the Bus transaxle locates the shift rod about two inches higher than a buggy transaxle. People have all kinds of solutions for this, from u-joint shift linkages, to offset couplers, etc. The two most popular solutions are to either use the 10 degree mount (which, by tilting the transaxle, puts it in almost the right spot), or mounting your shifter up higher.
I decided to go with the bugpack-style mount, and a relocated shifter box.
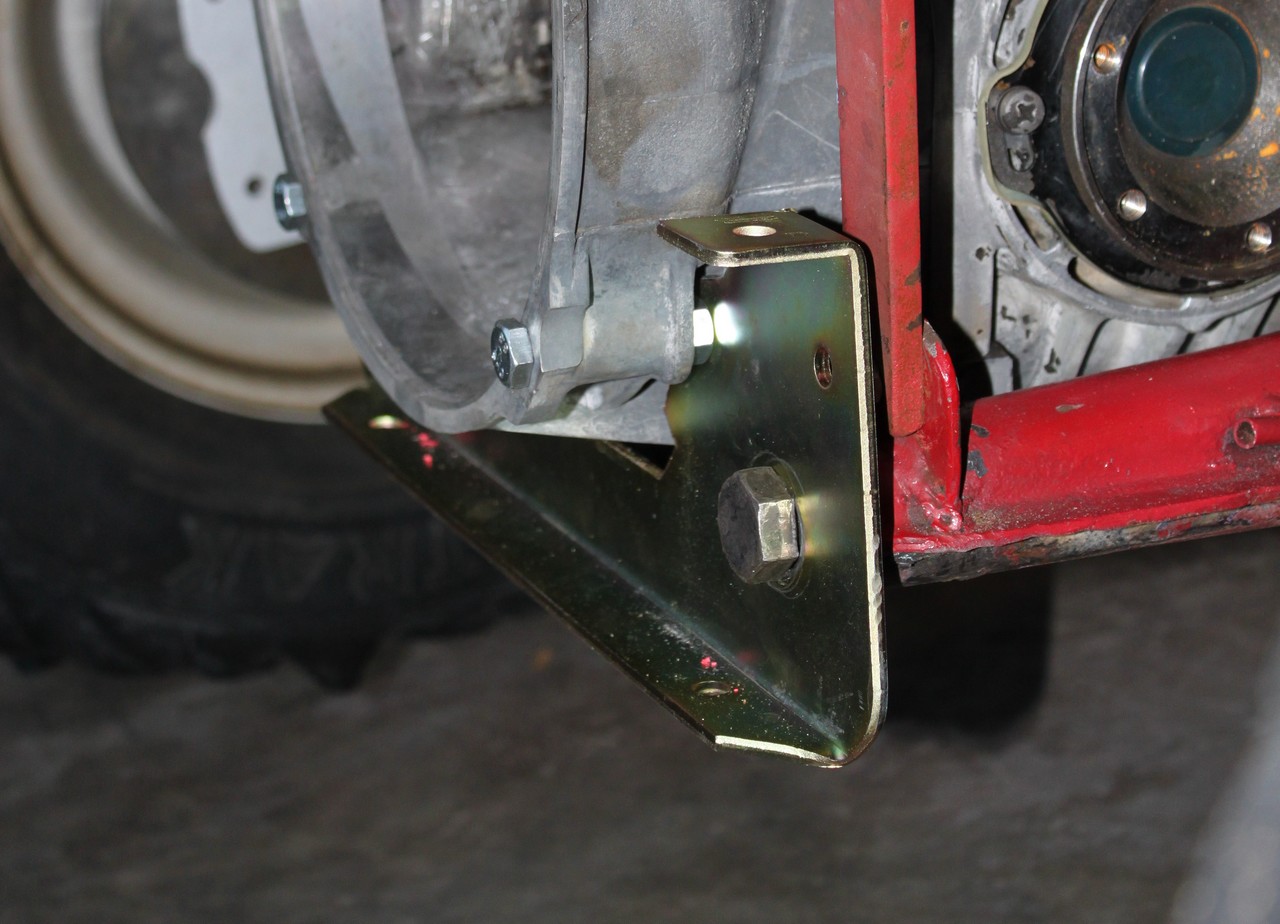
Like most aftermarket VW accessories, be prepared for it to not fit quite right and require a bit of “adjustment” to make it work (don’t they measure things before they manufacture them?). There’s some left-right adjustment to get things centered. It my case, I think I also had to fool with the bolt holes a little bit. Also, there was a gap between the transaxle and the mount:
As you can see above, I ended up inserting a nut between the transaxle and mount. It’s actually not a full nut, it’s ground down just a little bit, and I actually welded the little nut to the mount. Let’s call it a mounting boss rather than a nut-welded-to-the-mount. It sounds better. Anyhow, like I said, the plate now has a custom mounting boss.
Here’s a picture of the modified shifter box:
See what I did there? It’s actually a shifter box mounted piggyback-style on top of the old shifter box. It works out just right. The good thing is, the way I built it, it can easily be unbolted, and the old shifter box could be used as-is if I ever wanted to go back to a buggy transaxle.
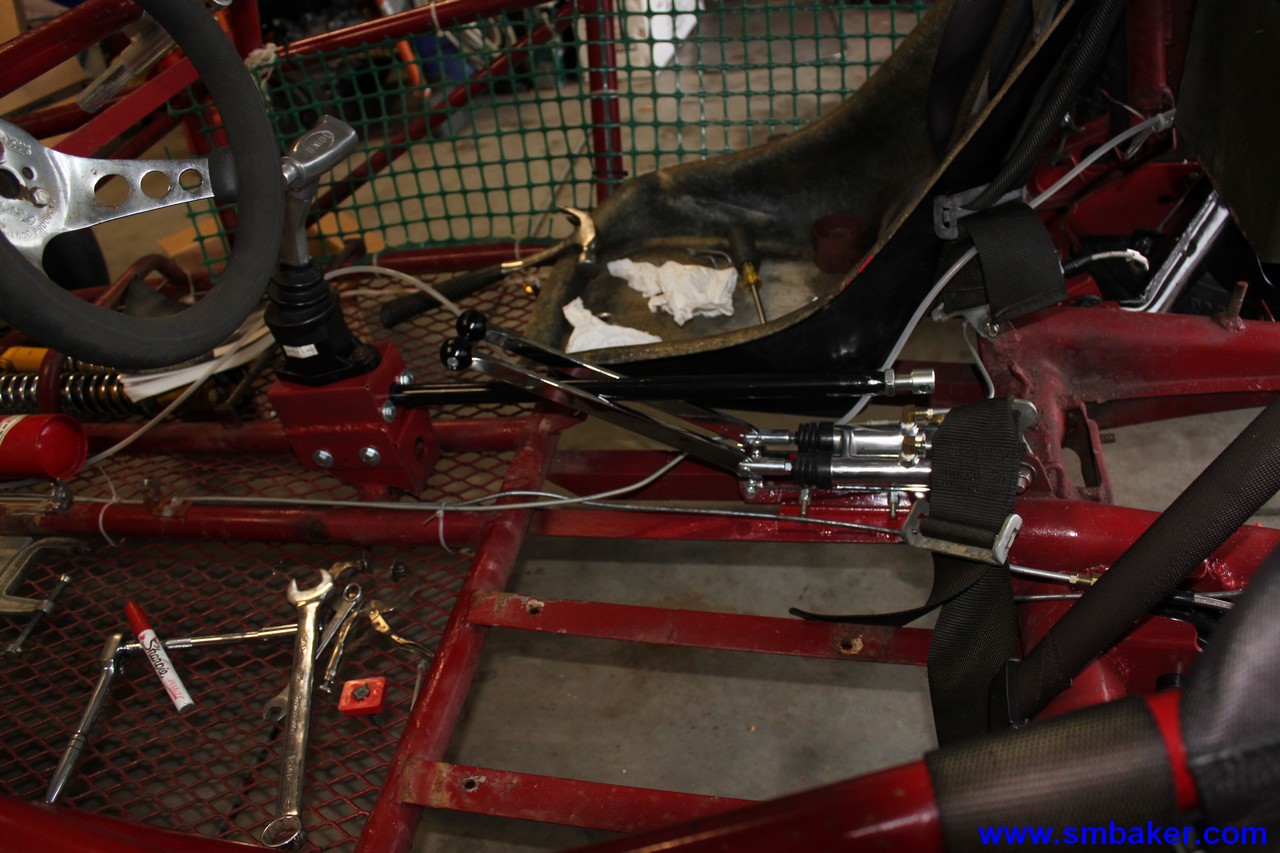
What are the two paddels behind the shifter for?
Those are turning brakes